Mining Cryptocurrency on Mac OS using Thinminerpro and Unmineable

Apple made an announcement last year that its new Apple silicon chip is as fast as a Nvidia 3080. Given that there existed a gpu shortage for mining proof of work cryptocurrencies, this made a bunch of miners/crypto curious types interested in whether it is worthwhile to mine cryptocurrency on a mac.
Generally I am going to say the answer to this is yes.
The bad reasoning I see many people use is “well it only makes x cents/dollars per day so it isn’t worth it.” This has always been the case, it never actually changed. The person mining 100 bitcoin per day back in the day was also making “only” x cents/dollars per day. What happened is that those bitcoins appreciated in value. Most people see both of these points separately but fail to put them together in their decision making process that leads them to decide not to mine crypto.
That kind of thing is still happening as of very recently. Everyone knows somebody who had a bunch of bitcoin / x cryptocurrency that lost/sold it and regrets it. I think this cryptocurrency phenomena is going to continue for a while.
That is to say directly, I think many of the new cryptocurrencies that are just getting started can appreciate in value.
I really think it is good to experiment with participation in this whole cryptocurrency thing and get some coins while they are easy to get because it is low effort, and you can just walk away from it if you decide that it doesn’t interest you.
I wanted to code a cryptocurrency miner for mac, so I did.
So here is a guide aimed at Mac OS users who are not yet involved with crypto who perhaps want to start mining and obtaining a couple of these cryptocurrency coins themselves.
Step 1 is to get a “Cryptocurrency Wallet.” As the name suggests, this is a wallet that stores your crypto. It does this by providing you an cryptocurrency address to which coins can be sent to. Once a coin is sent to this address in your wallet, it belongs to you.
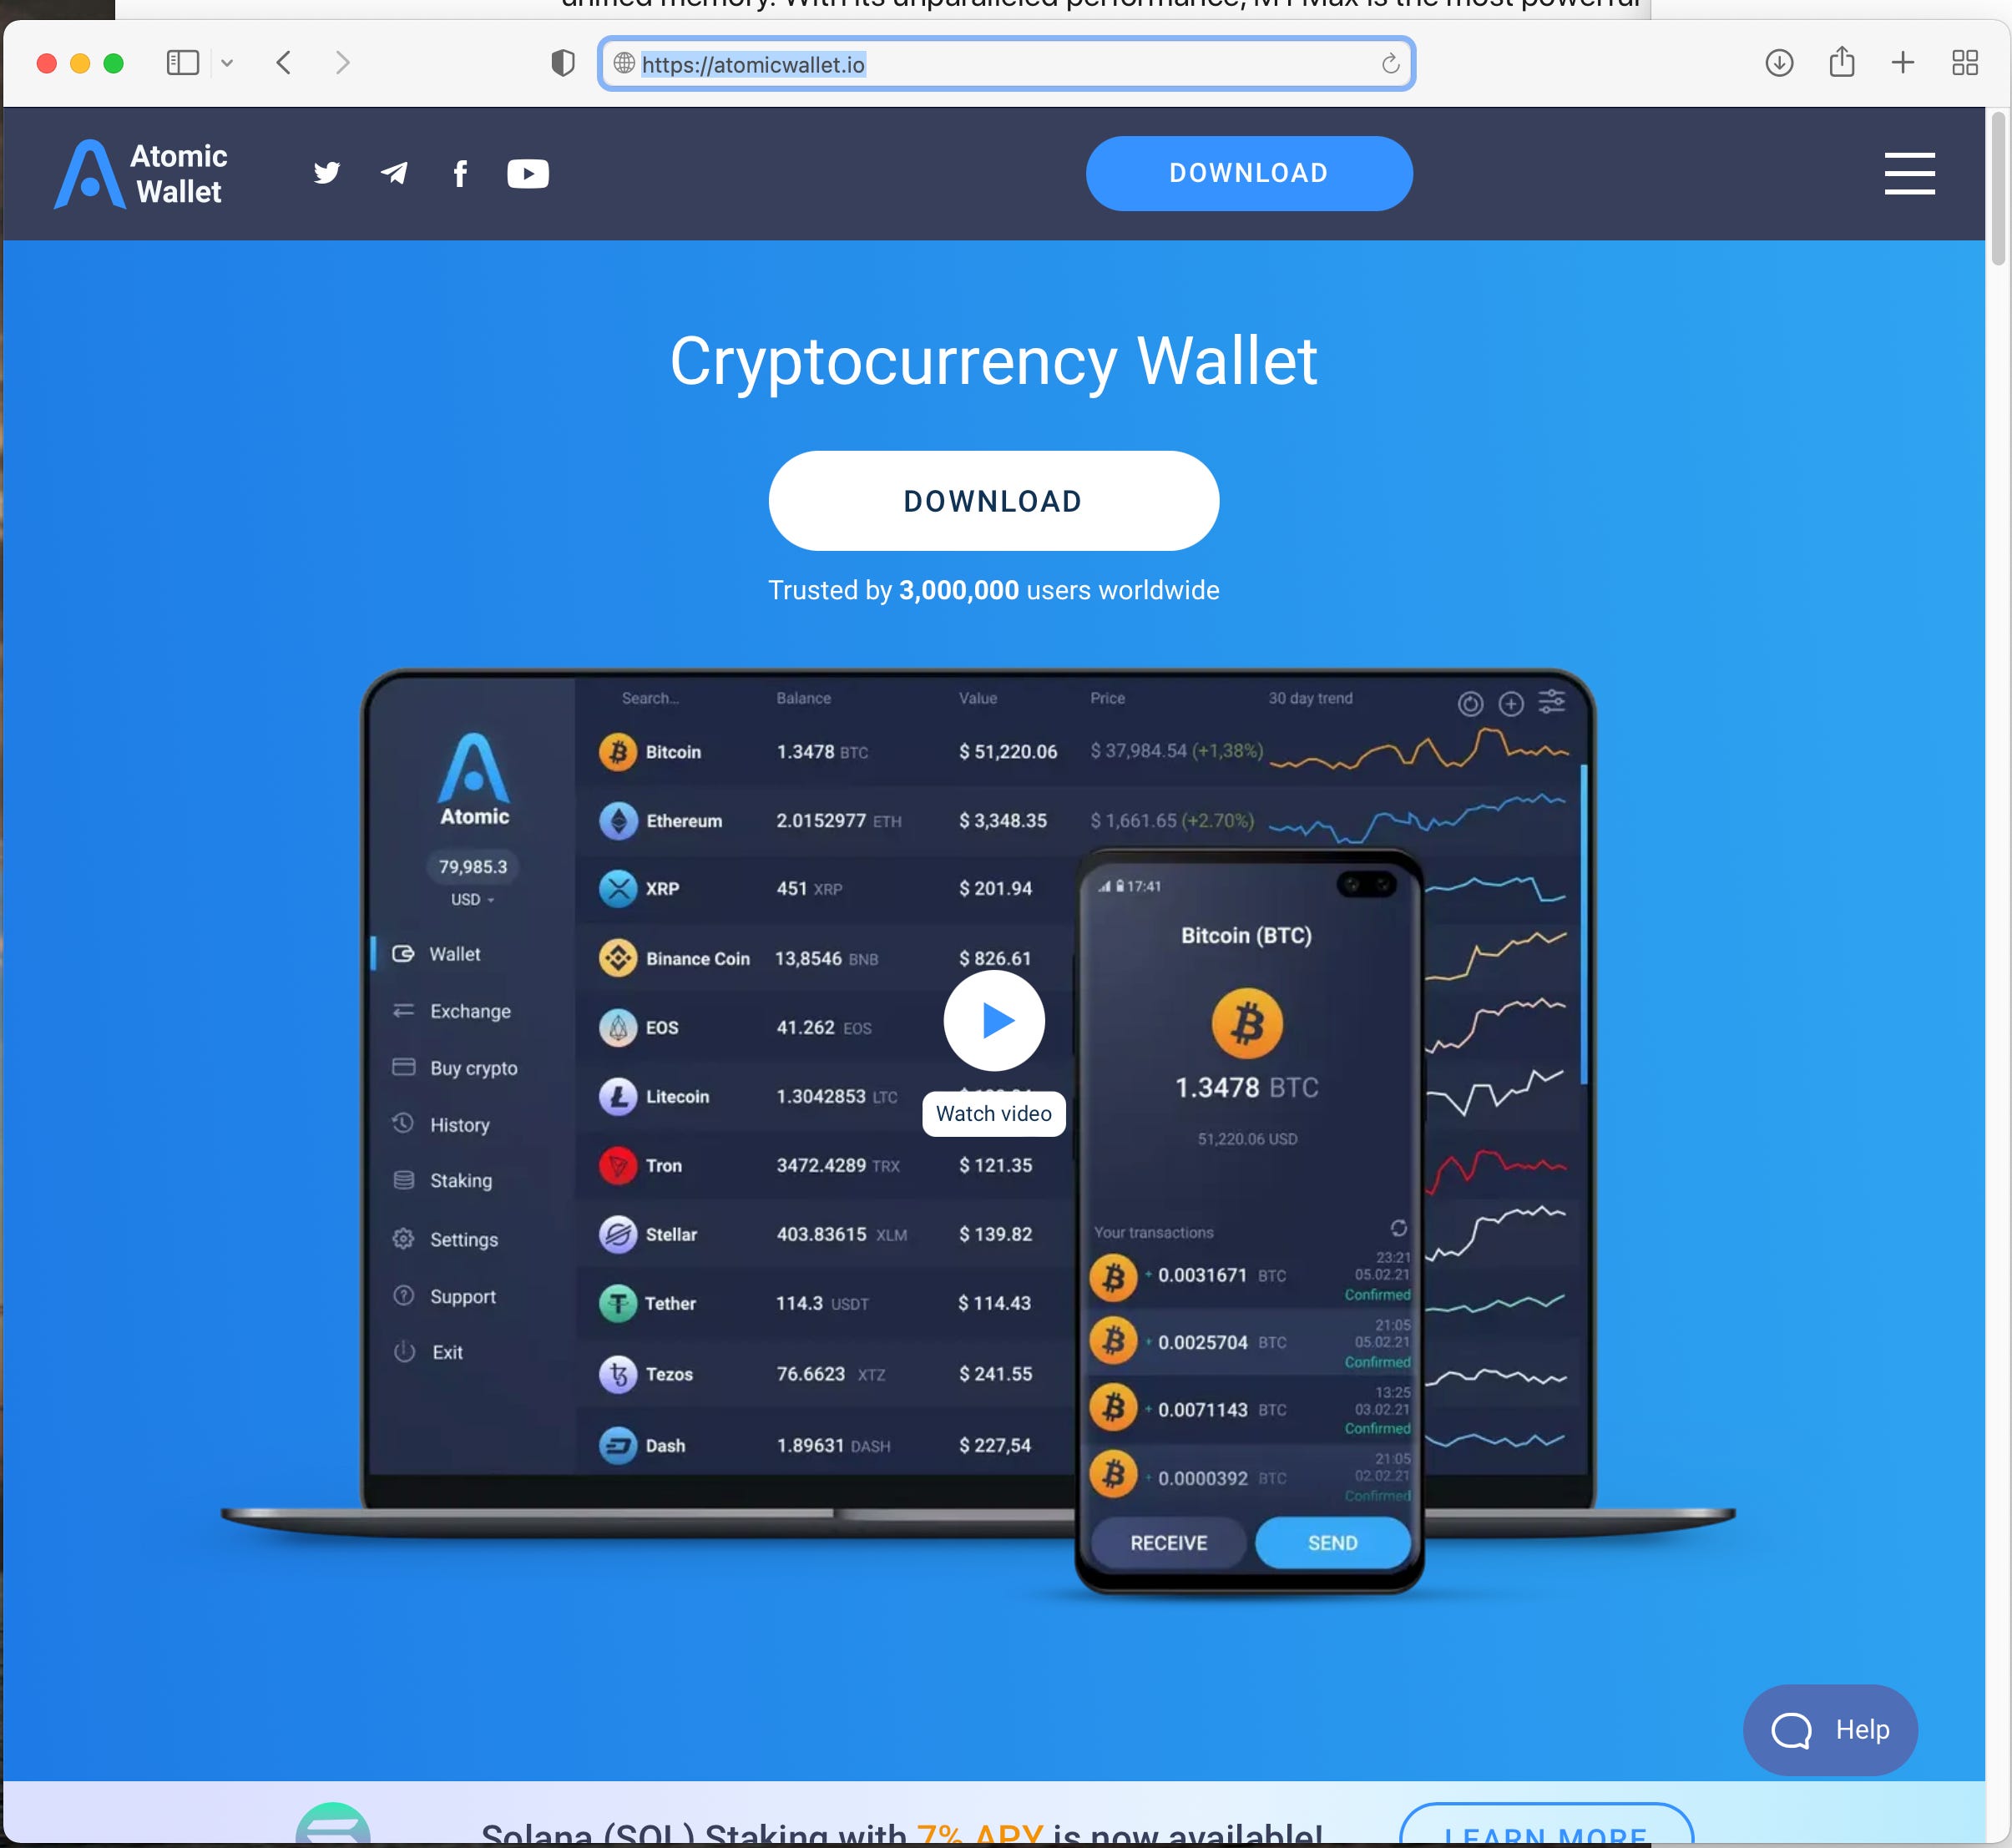
I use Atomic Wallet and that is what this guide will show you how to setup.
Step 1: Setup Atomic Wallet
Download Atomic Wallet from the website:
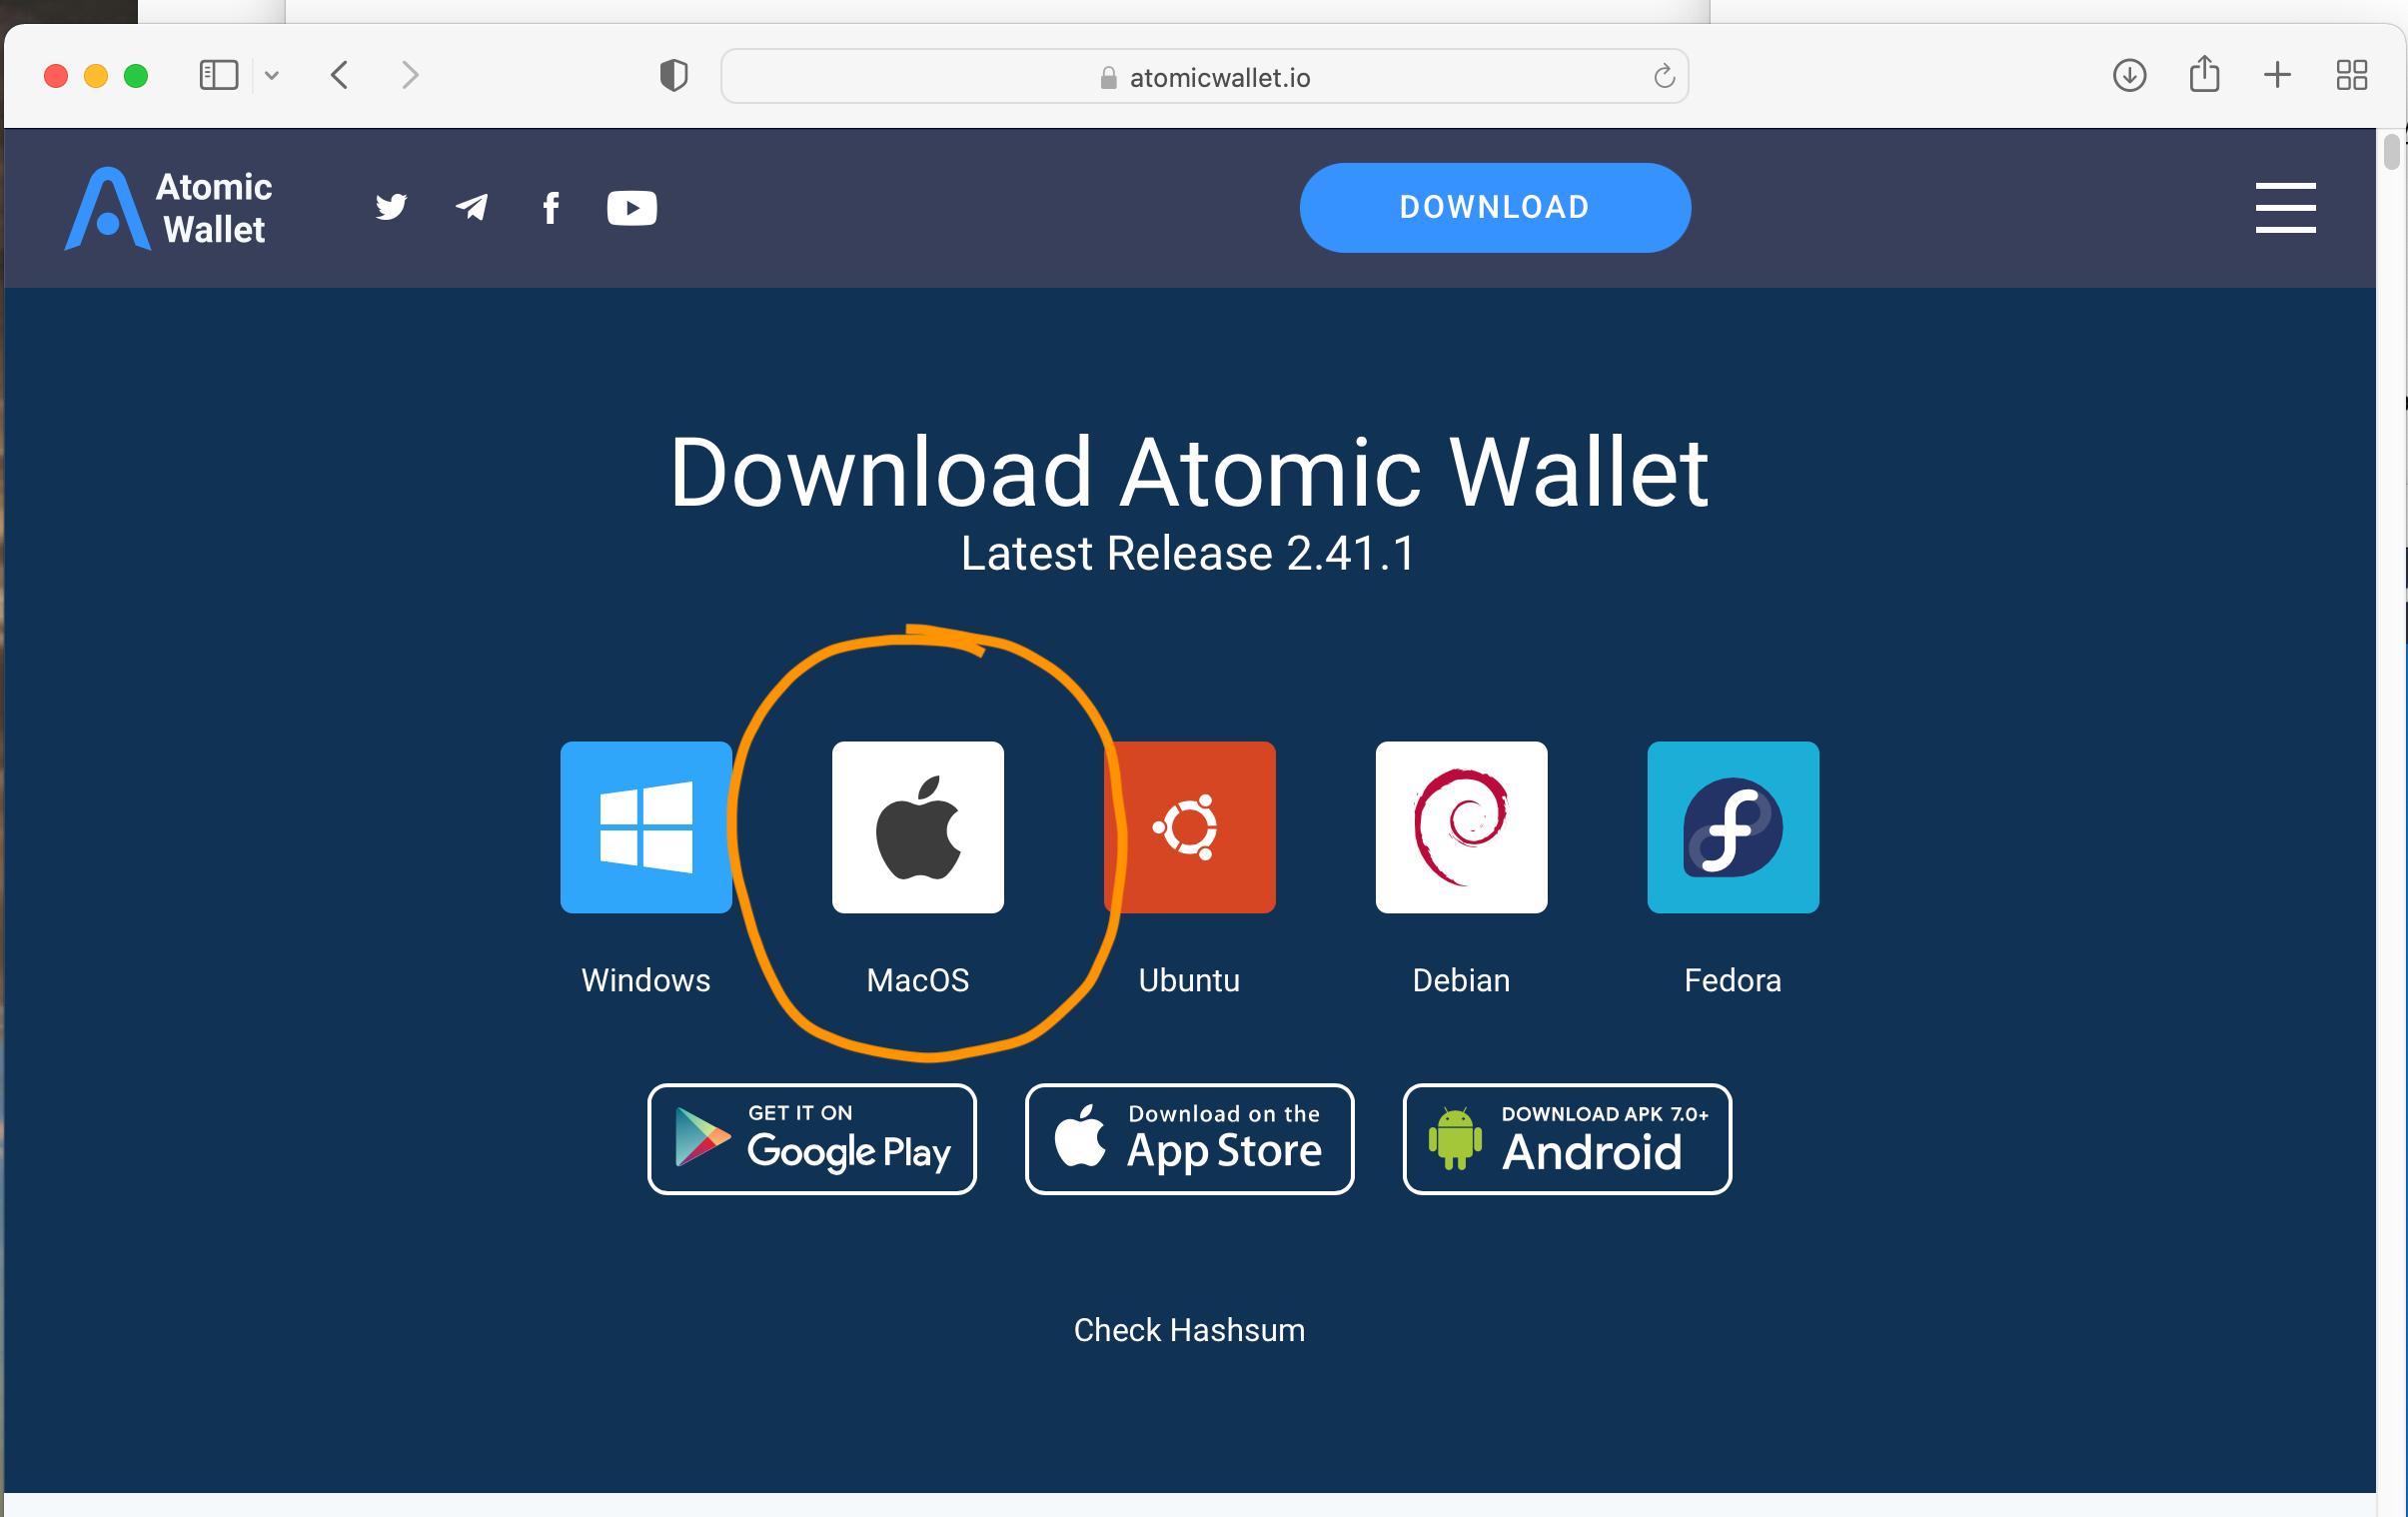
Pick MacOS
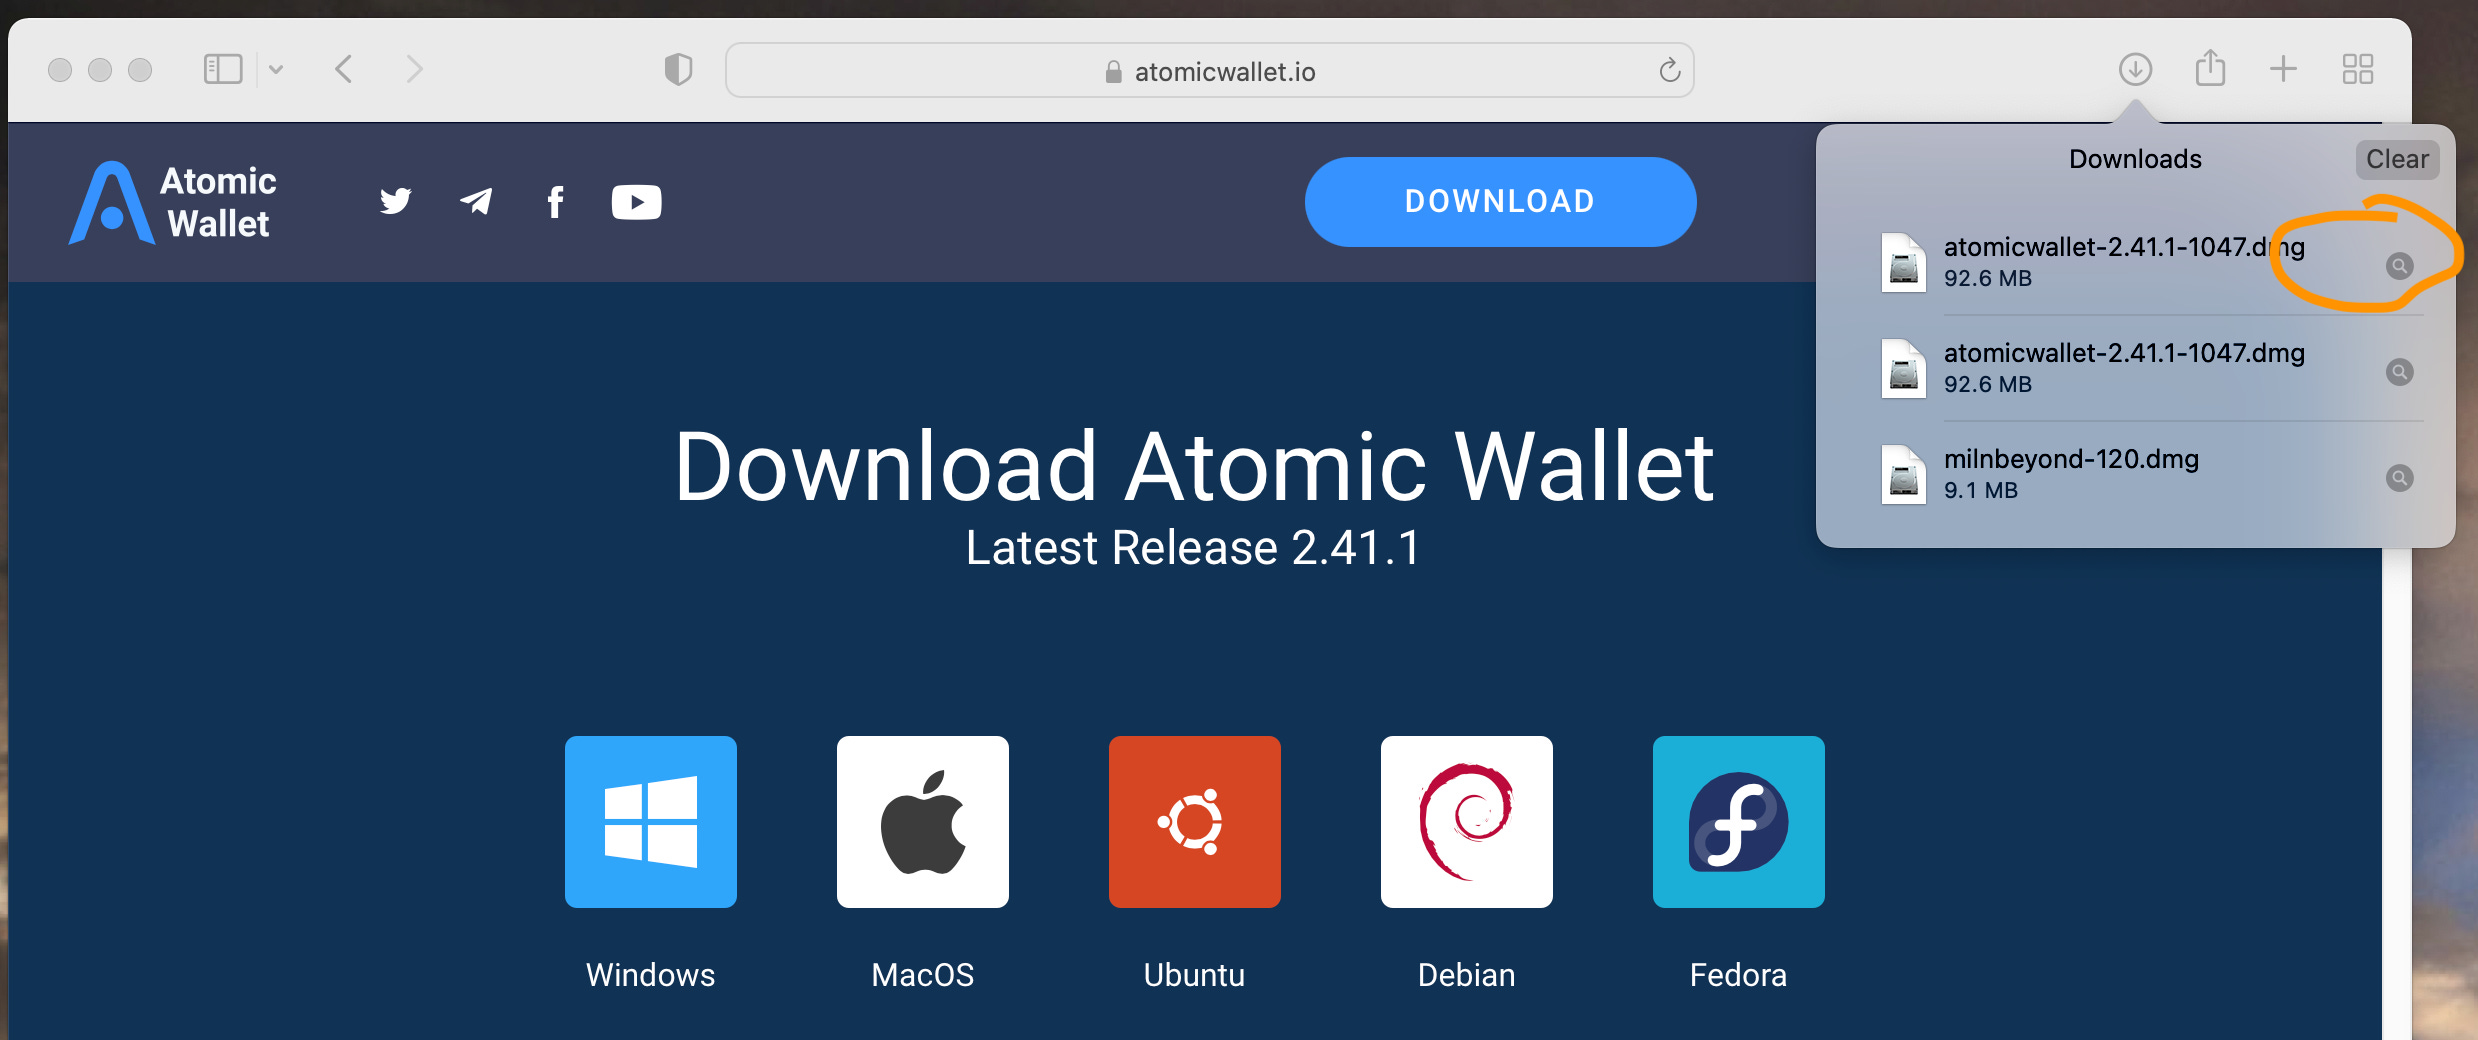
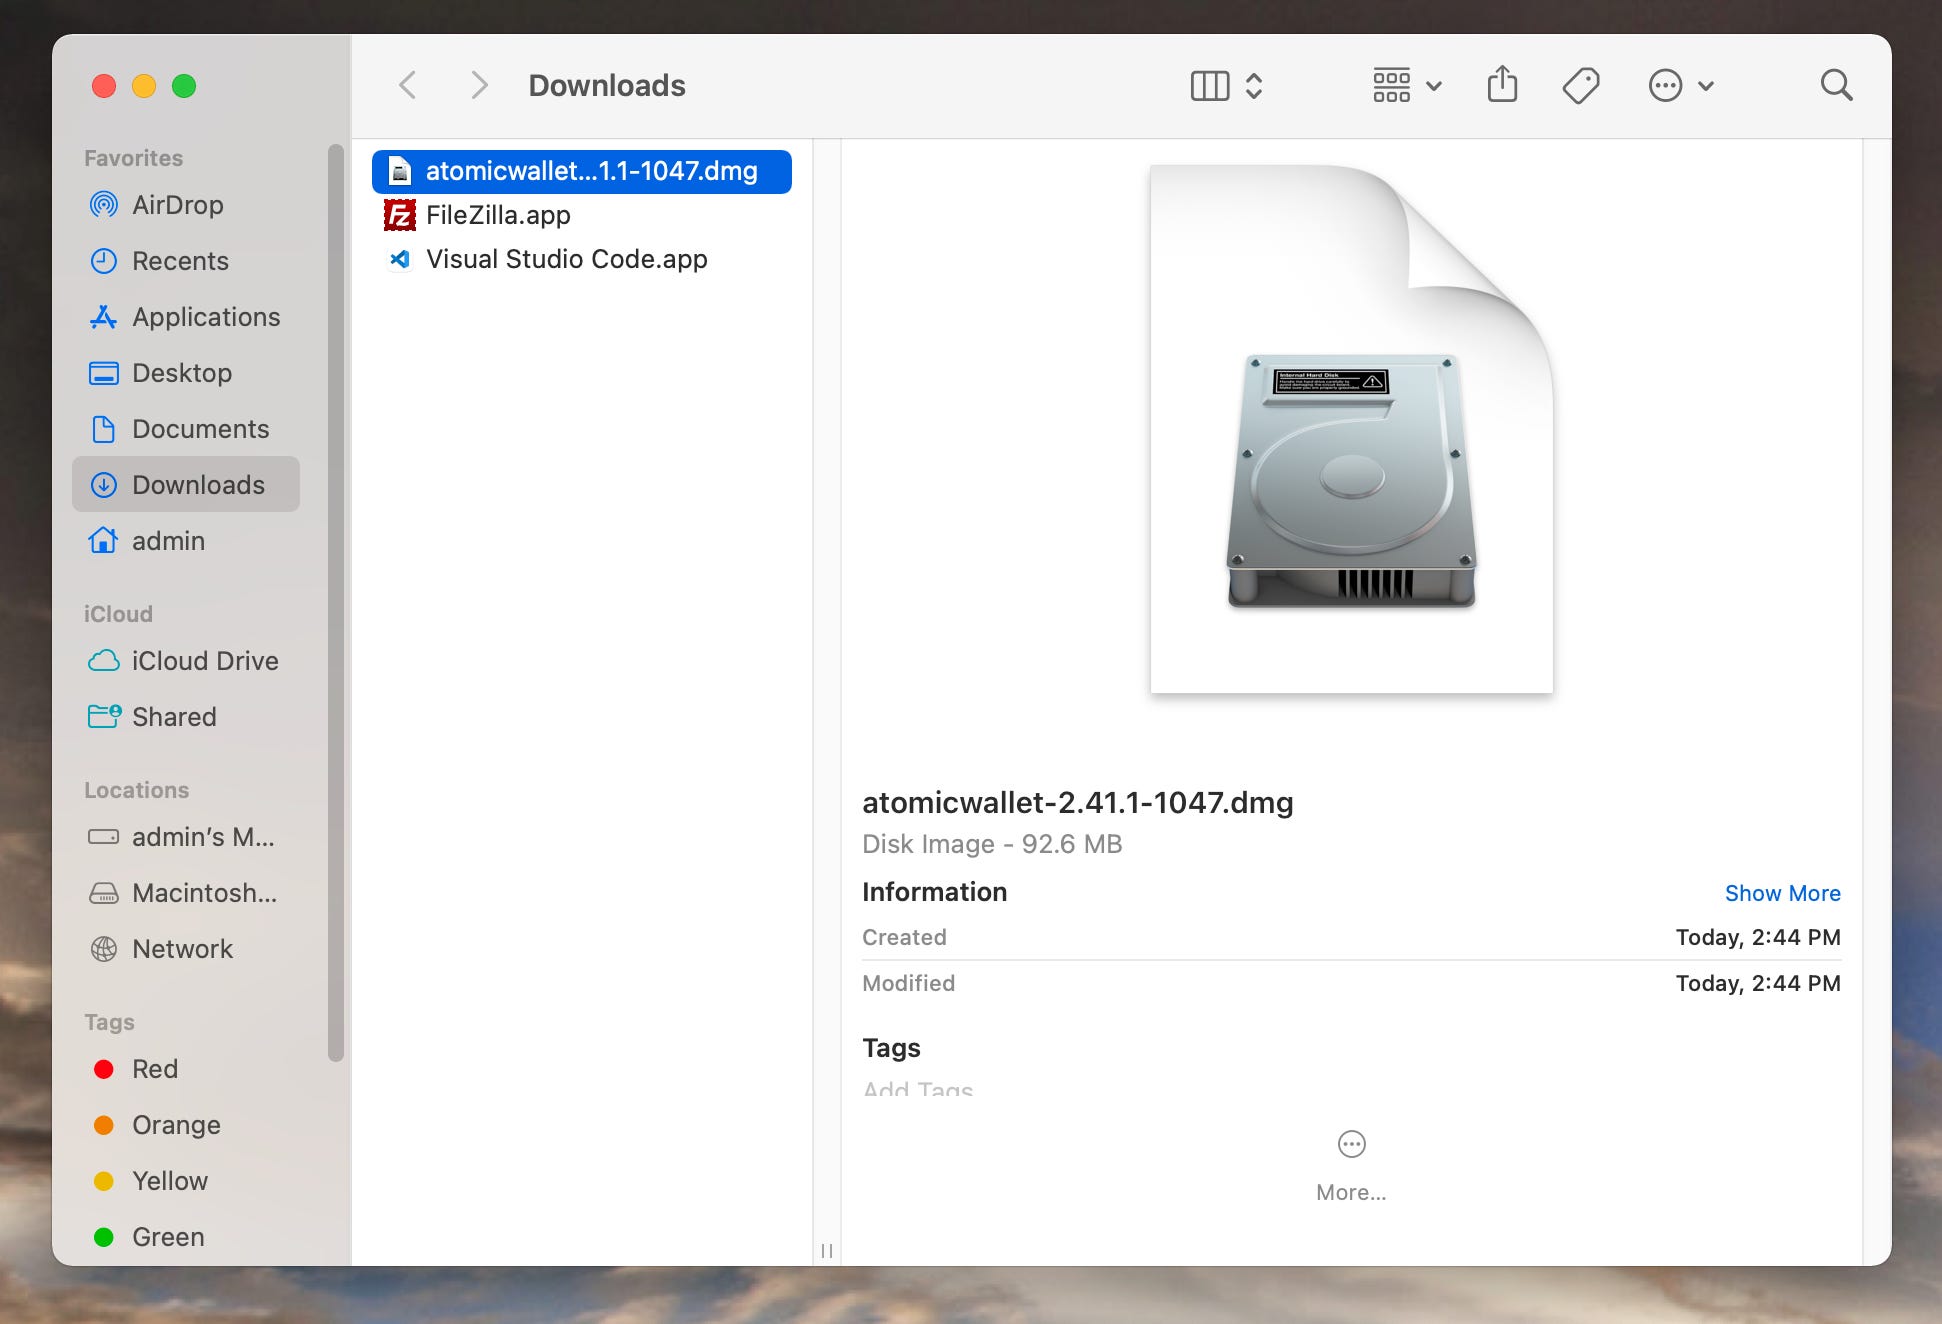
Click allow downloads if it asks. Once it is done downloading, click the magnifying glass to reveal it in the Finder.
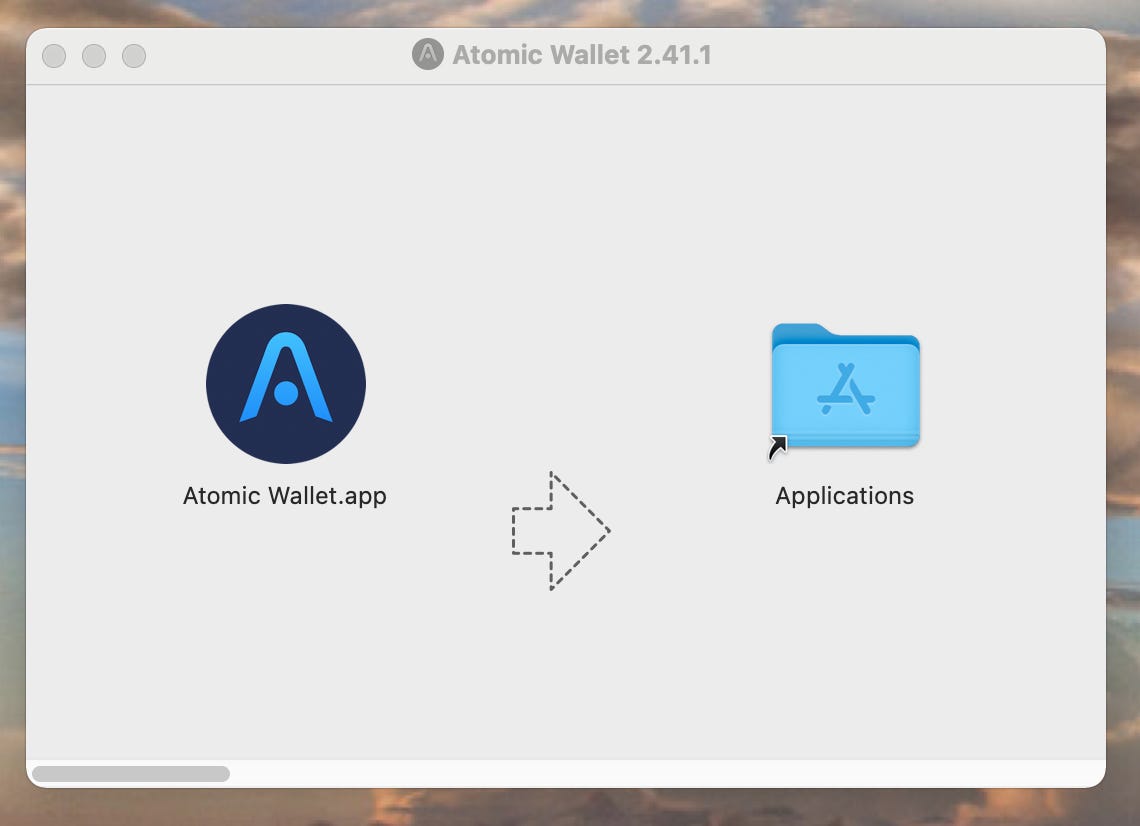
Double click the .dmg file to mount it
Drag the Atomic Wallet.app file to your Applications folder
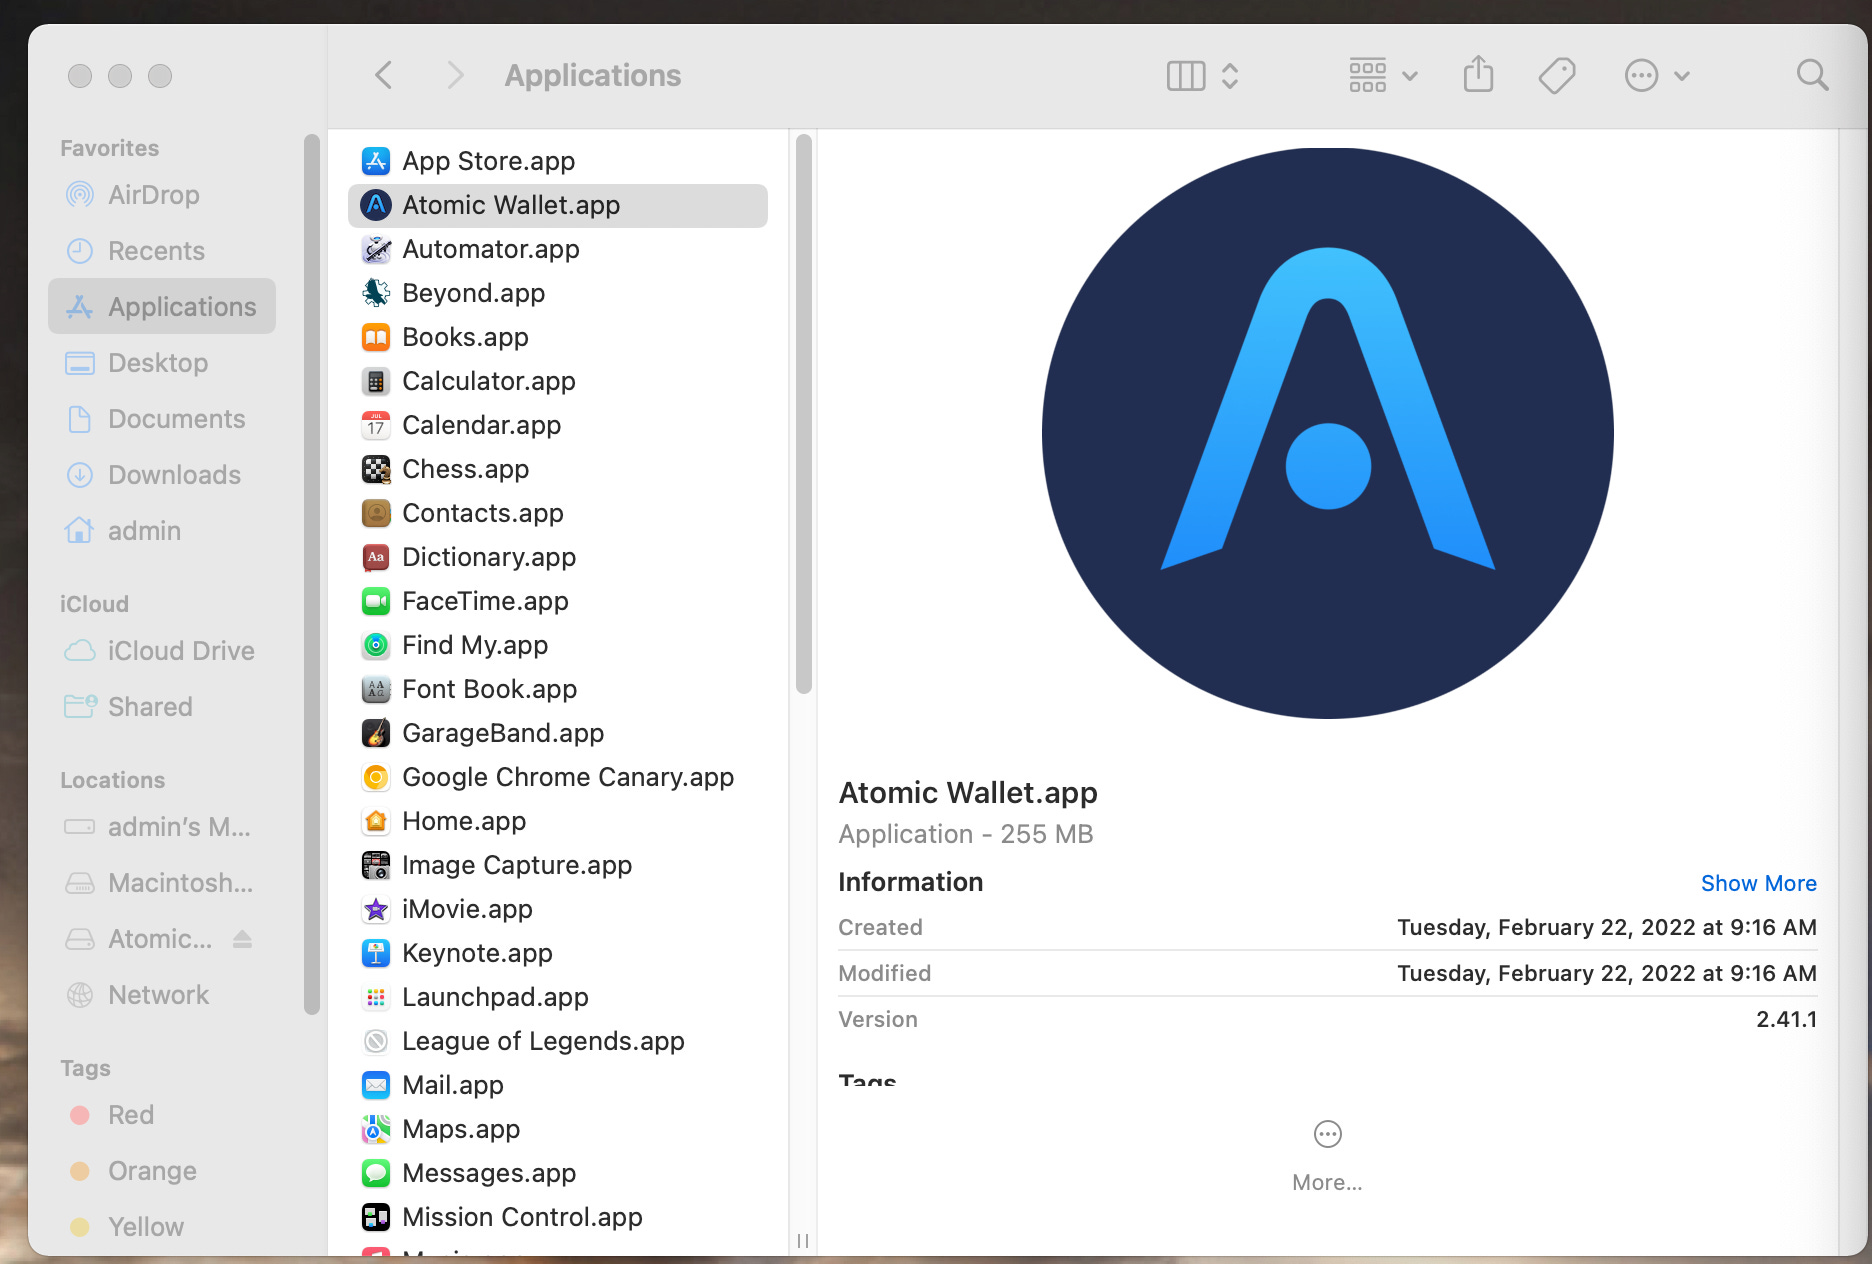
Now go to the Applications folder and open the Atomic Wallet app.
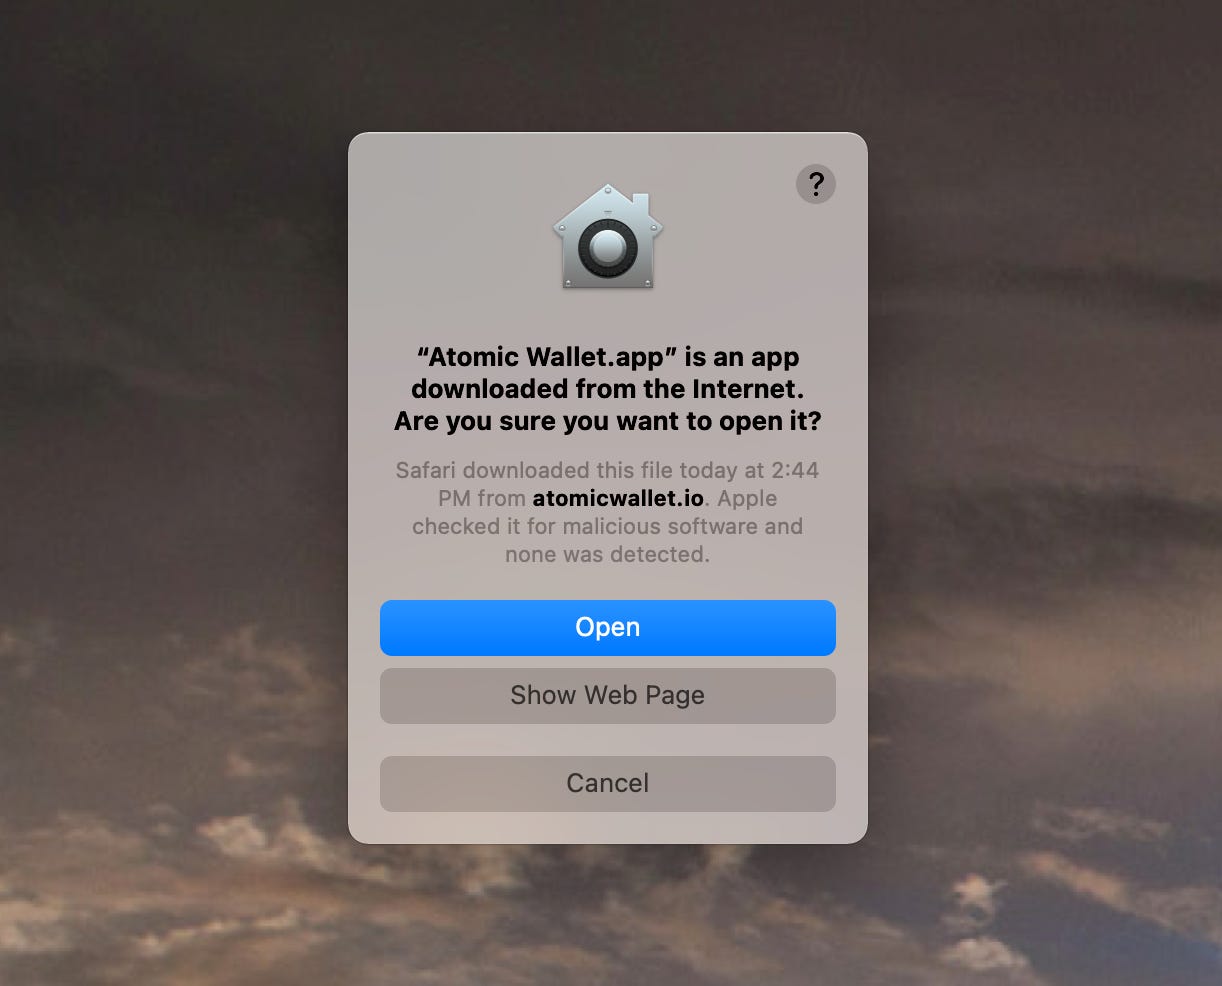
You will get a message that asks you if you want to open it, click Open
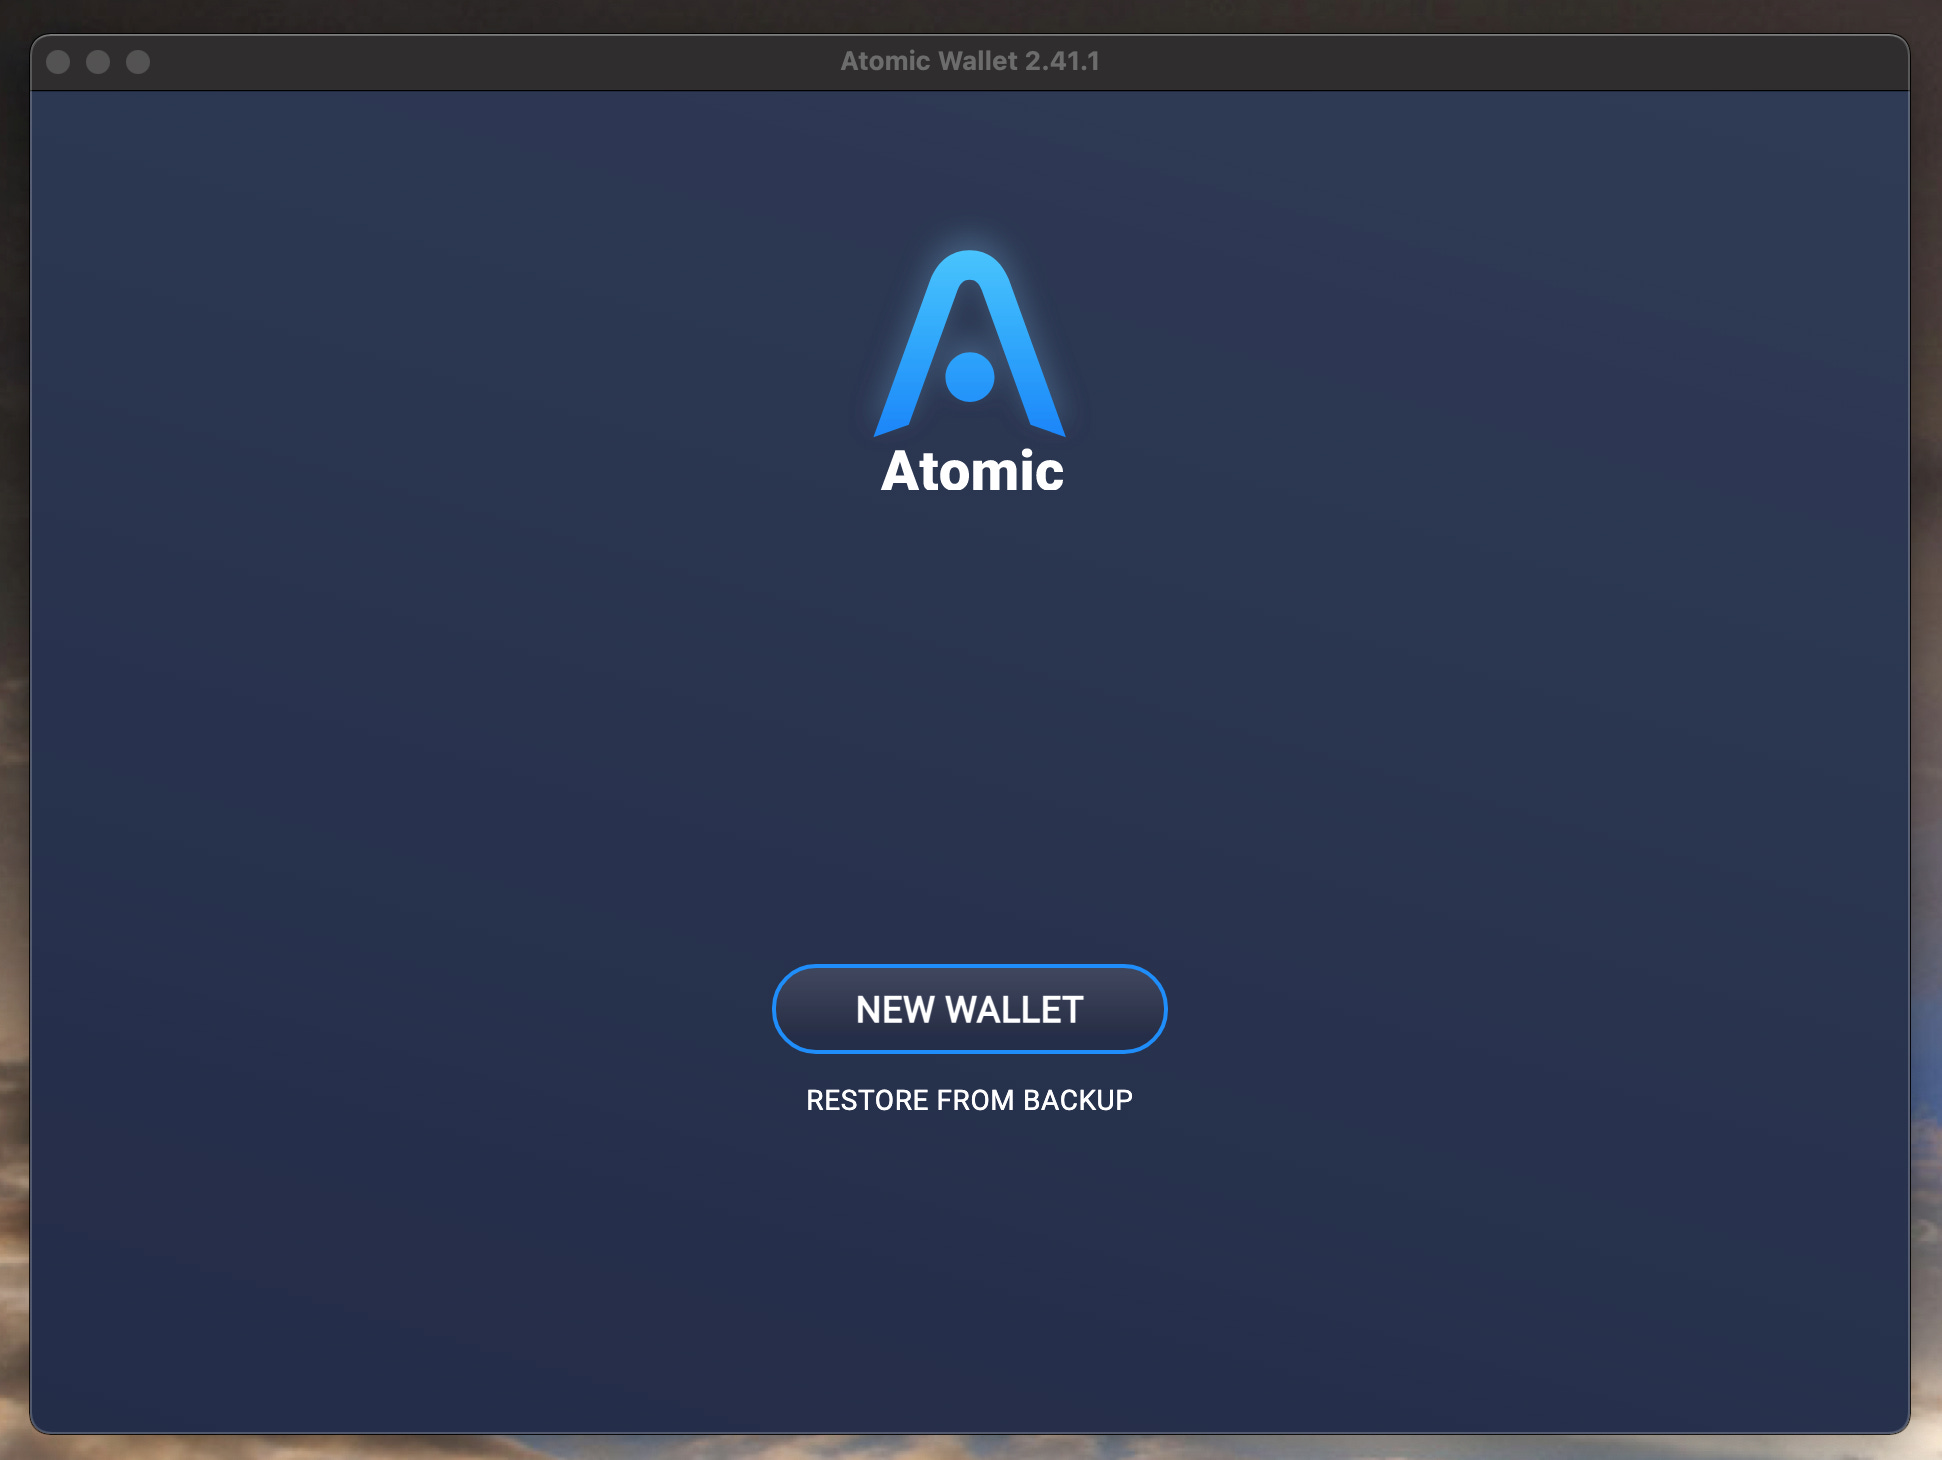
Once it is open click New Wallet
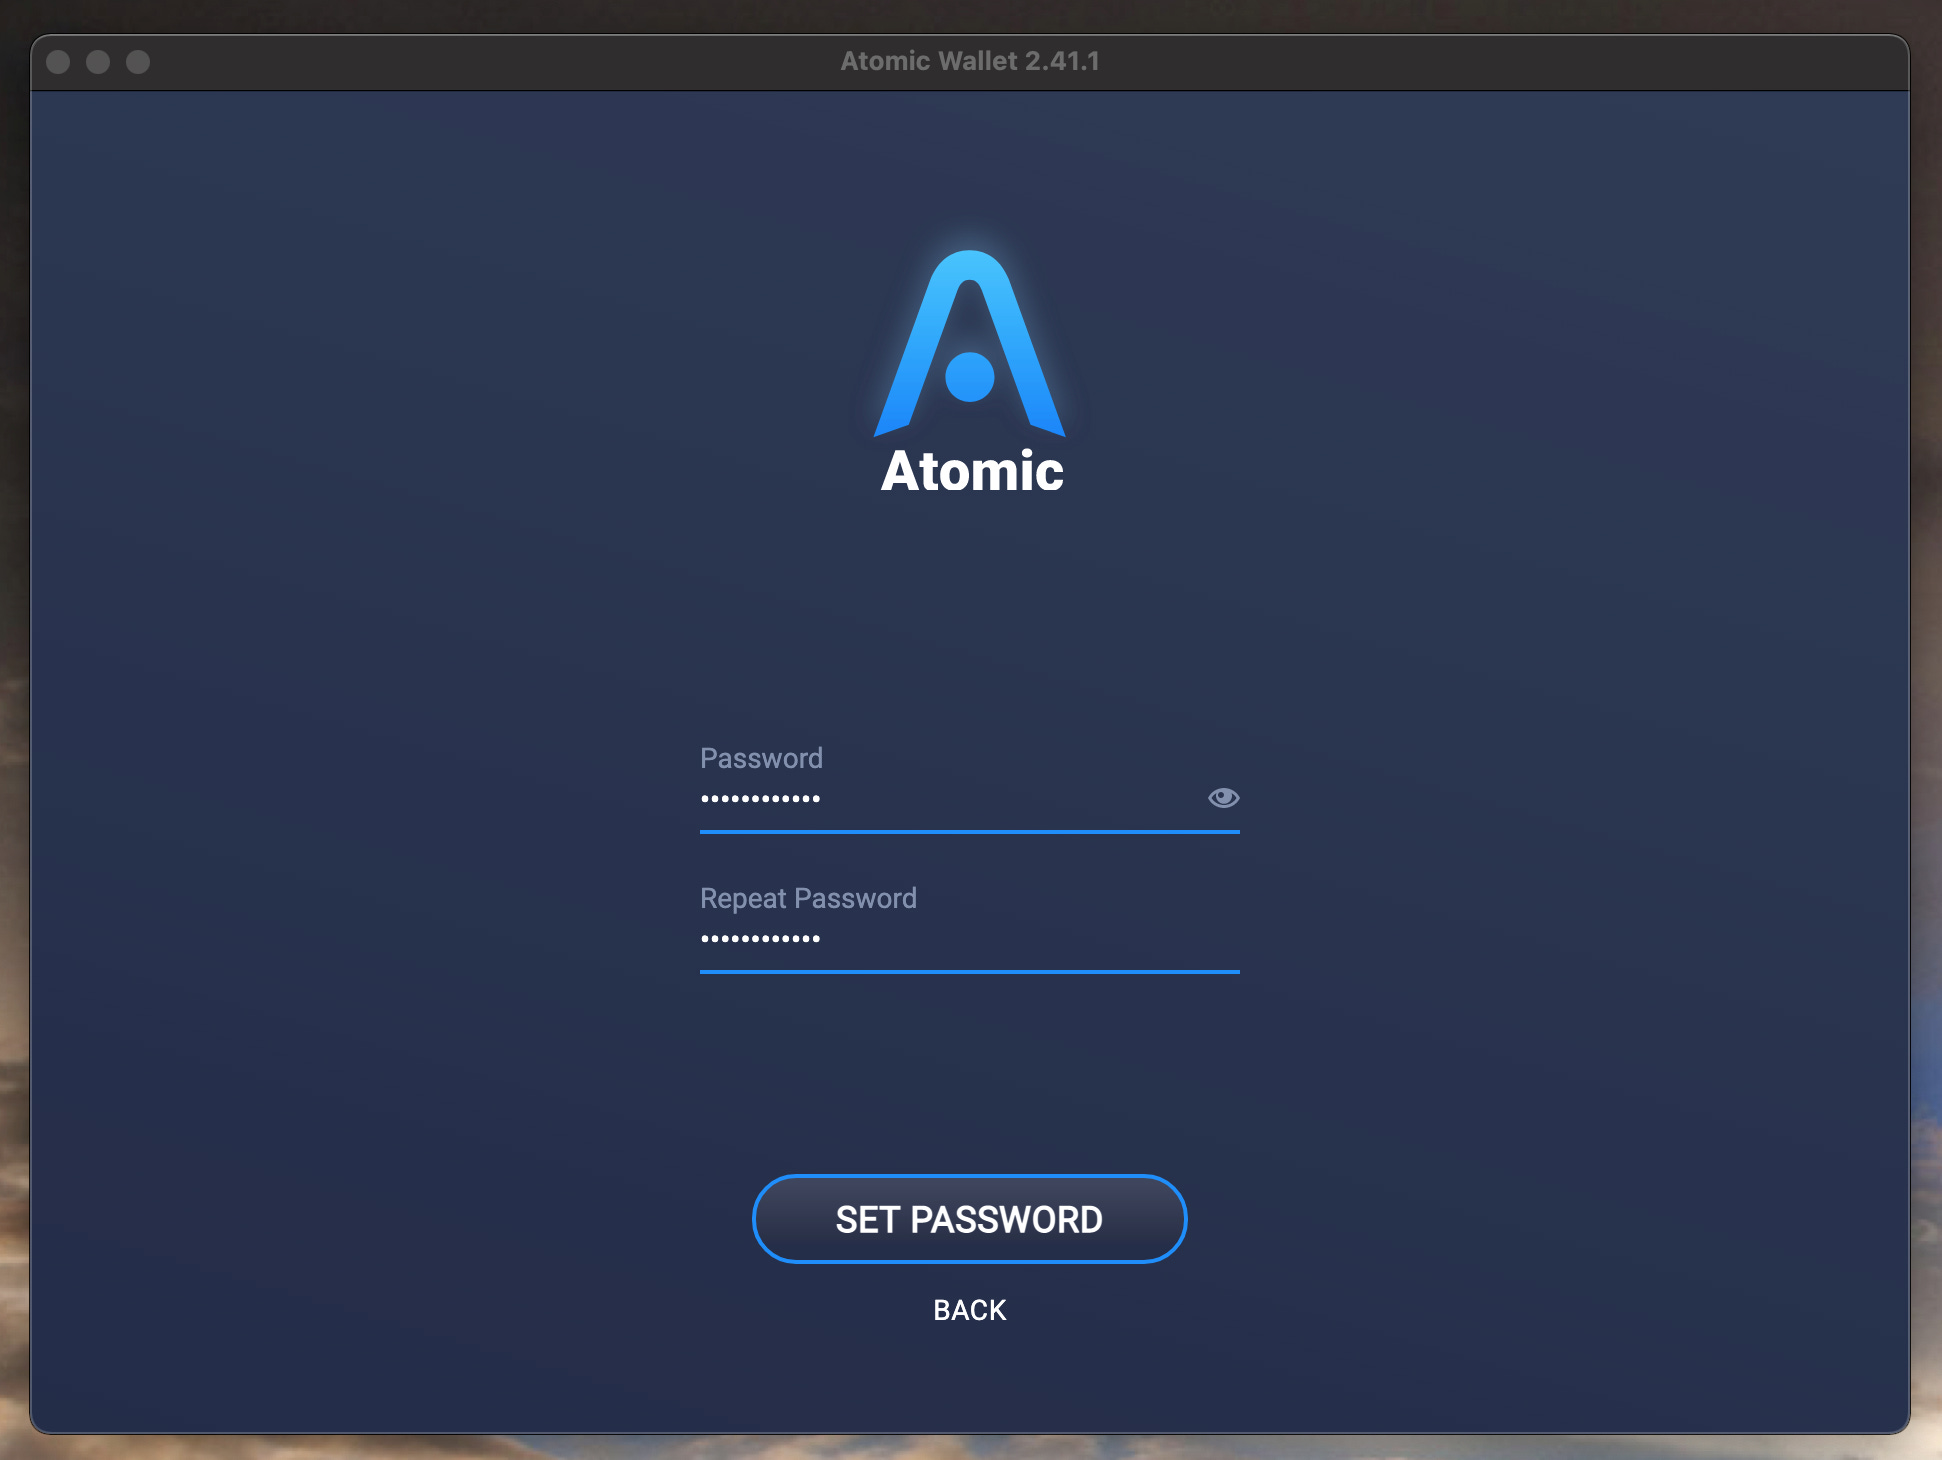
Set a password for your wallet
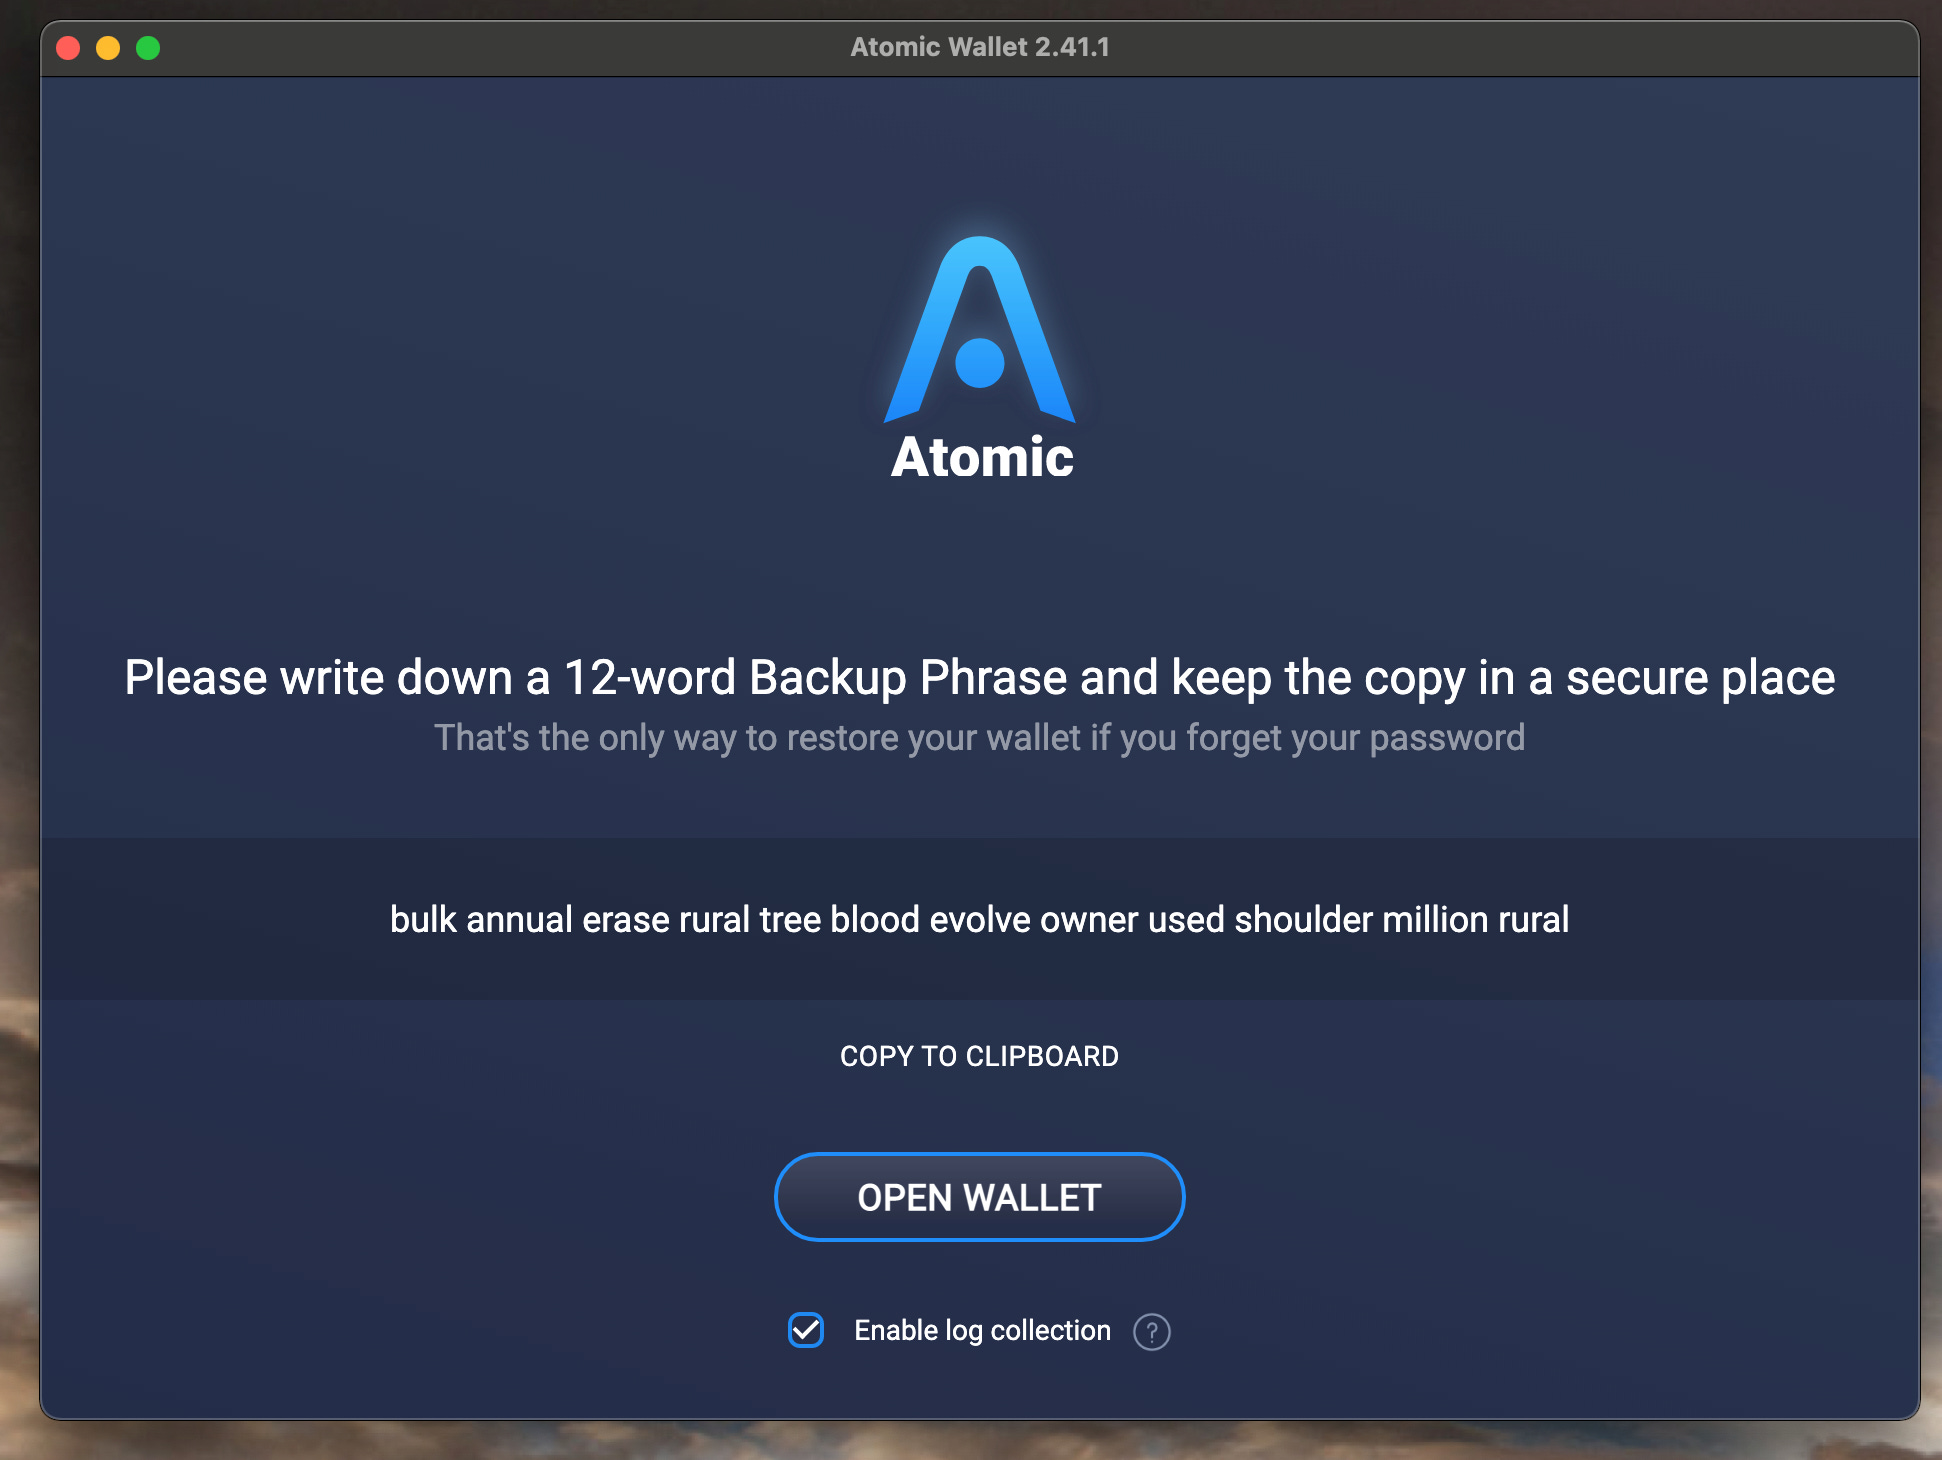
Atomic Wallet will give you a “Backup Phrase” you can use to recover your wallet if you forget the password. Save this phrase somewhere(print it out, write it down or save to a text file etc). Do this then click open wallet.
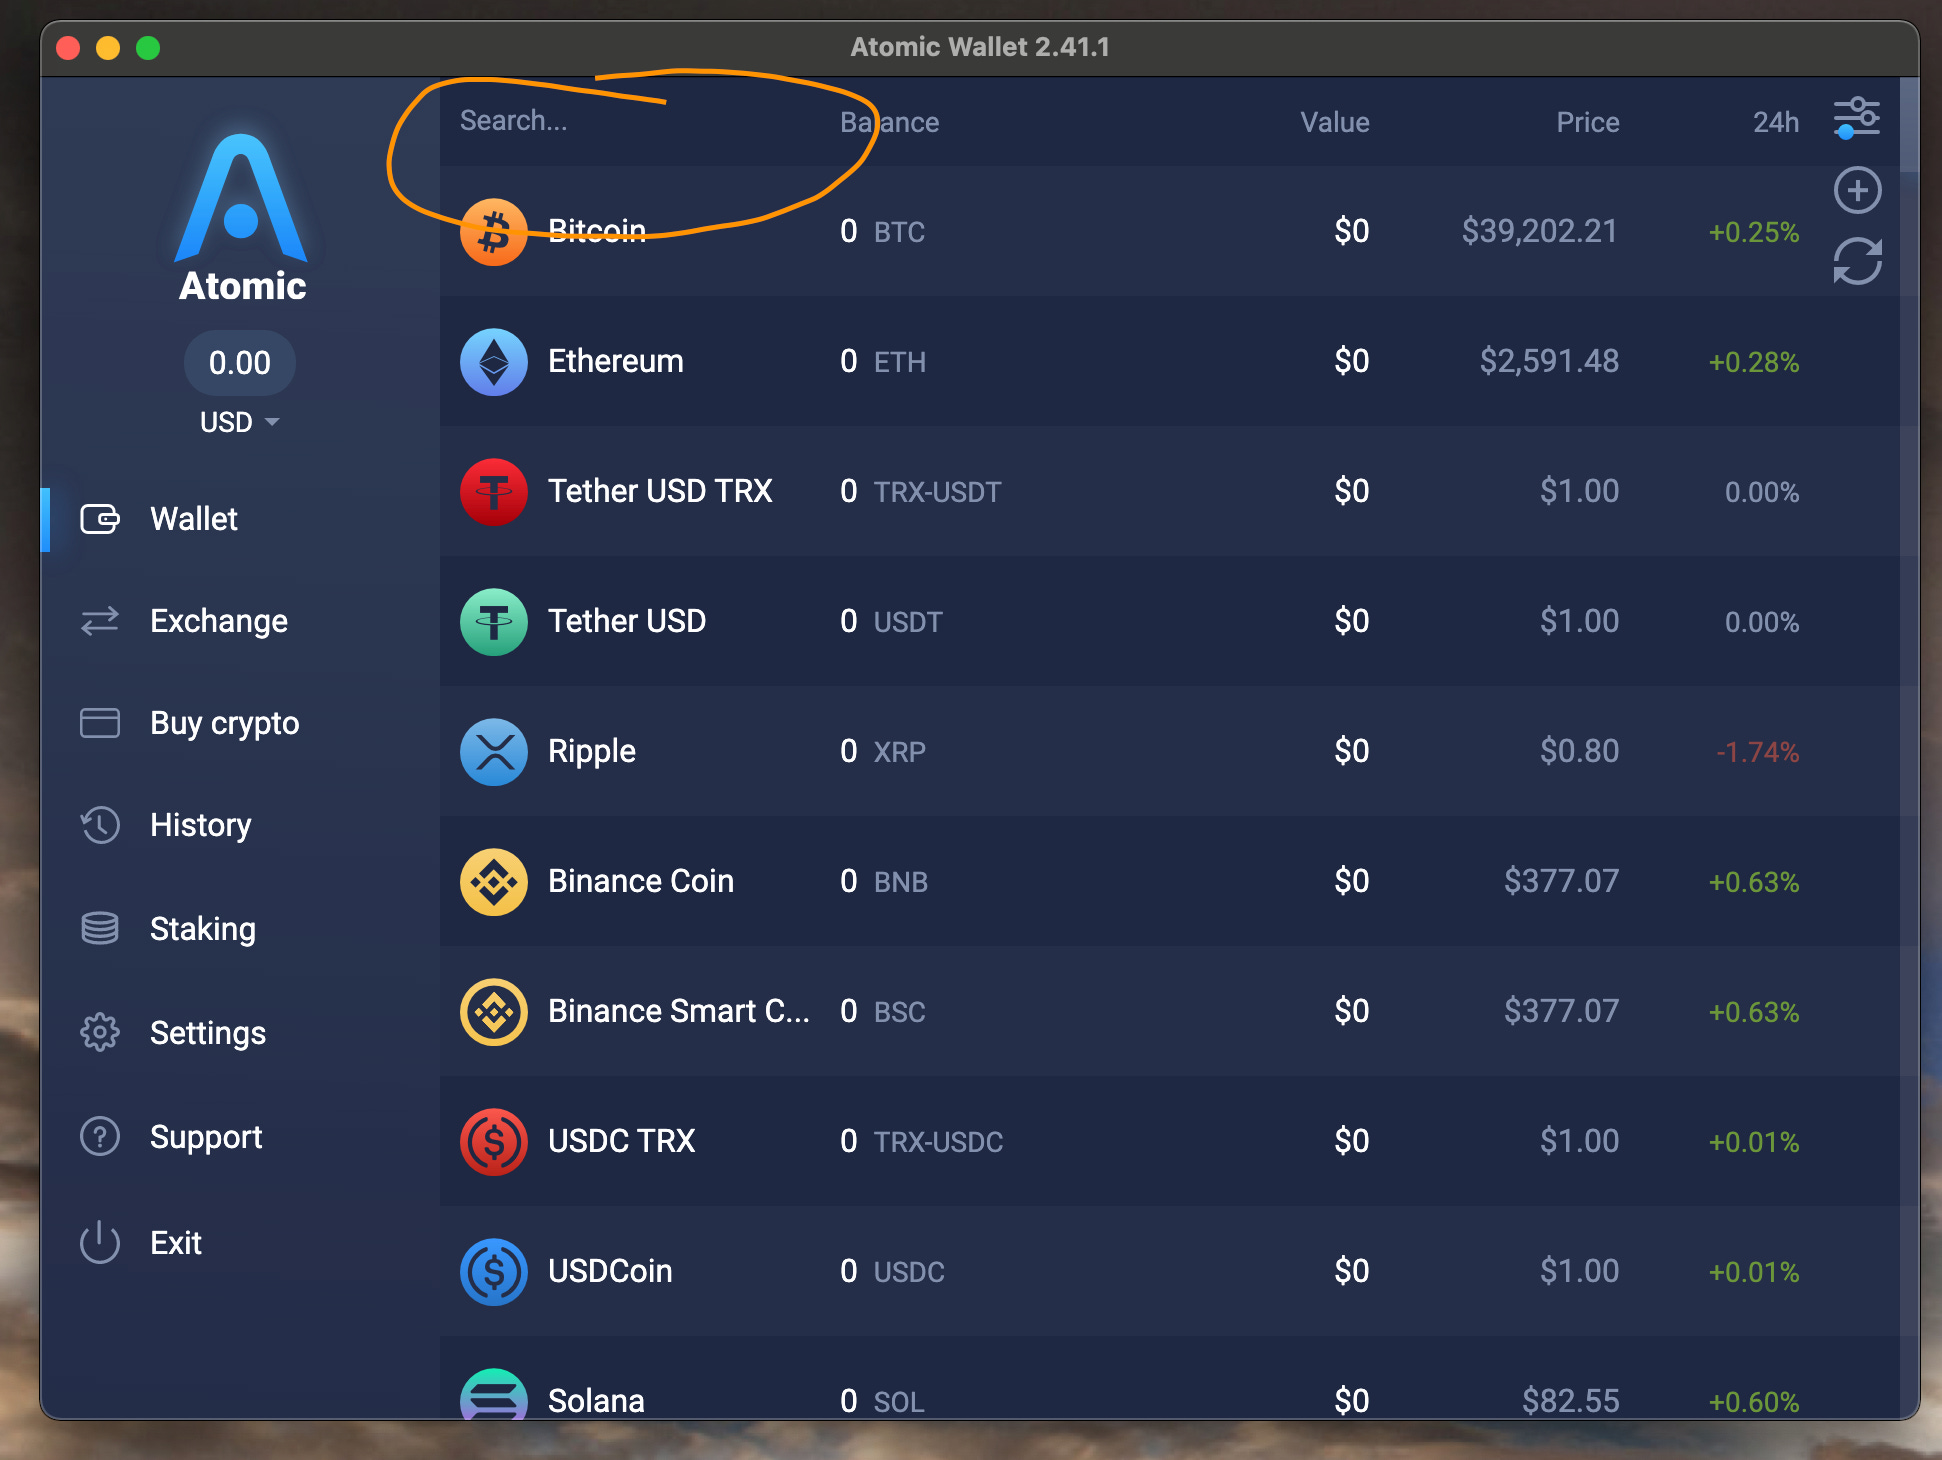
It will show you all of the cryptocurrencies that this wallet can hold. I am going to show how to do this tutorial setup to mine RVN coin but you can repeat the steps with a different coin easily.
First click the Search bar and type in Ravencoin.
It will look like this
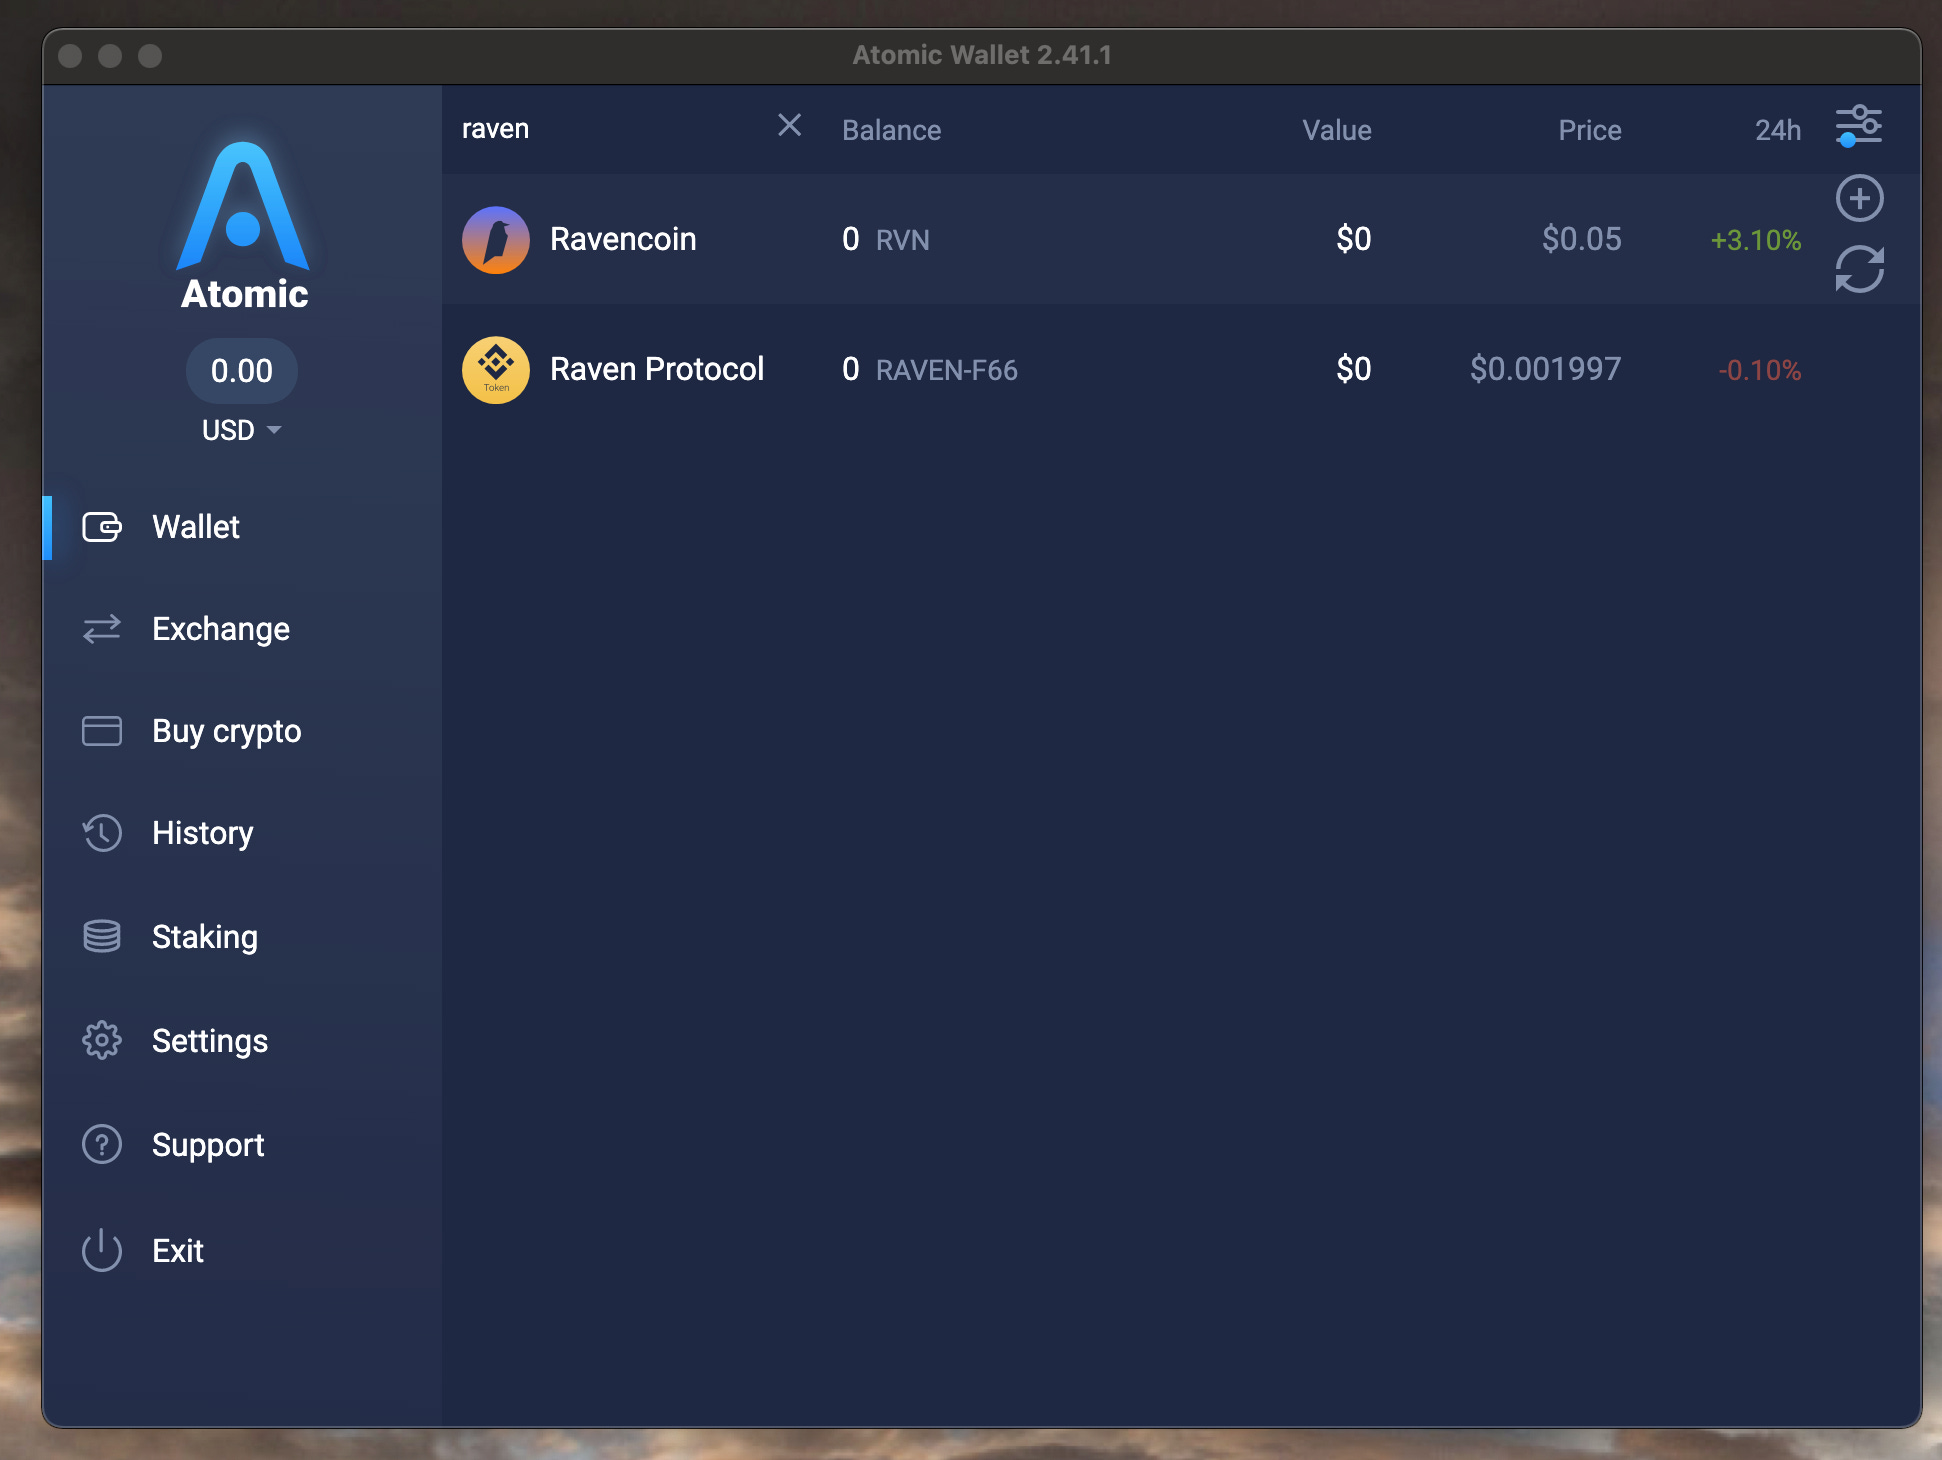
Click on Ravencoin, and it will show a page like this.
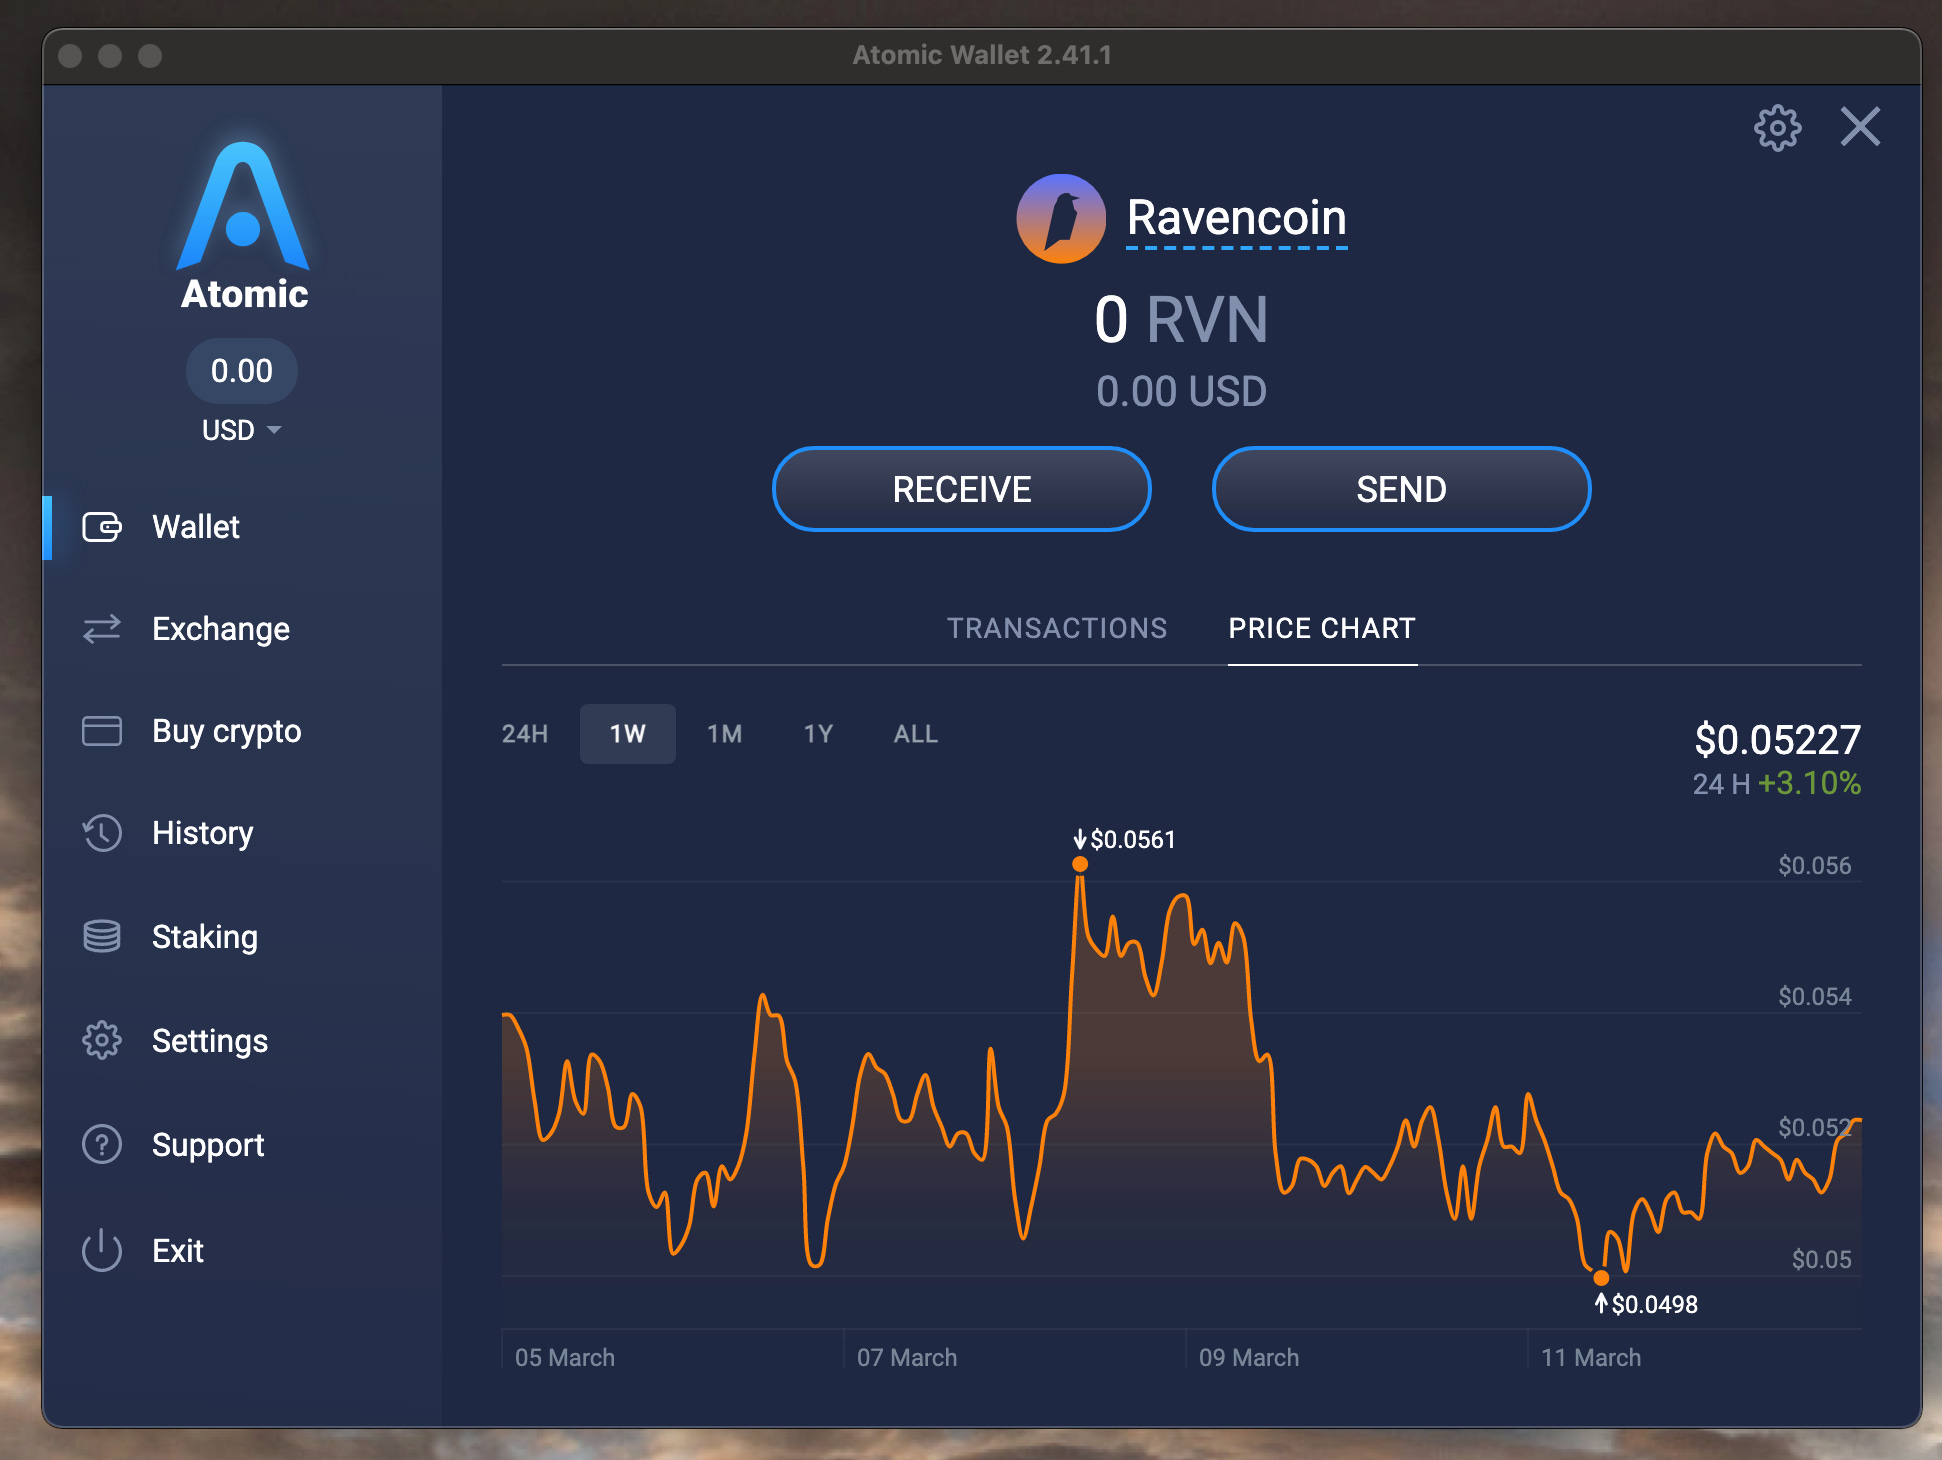
Basically this page shows how much Ravencoin we have in our wallet. Click the Receive button. This page displays your wallet’s Ravencoin address, where ravencoins can be sent.
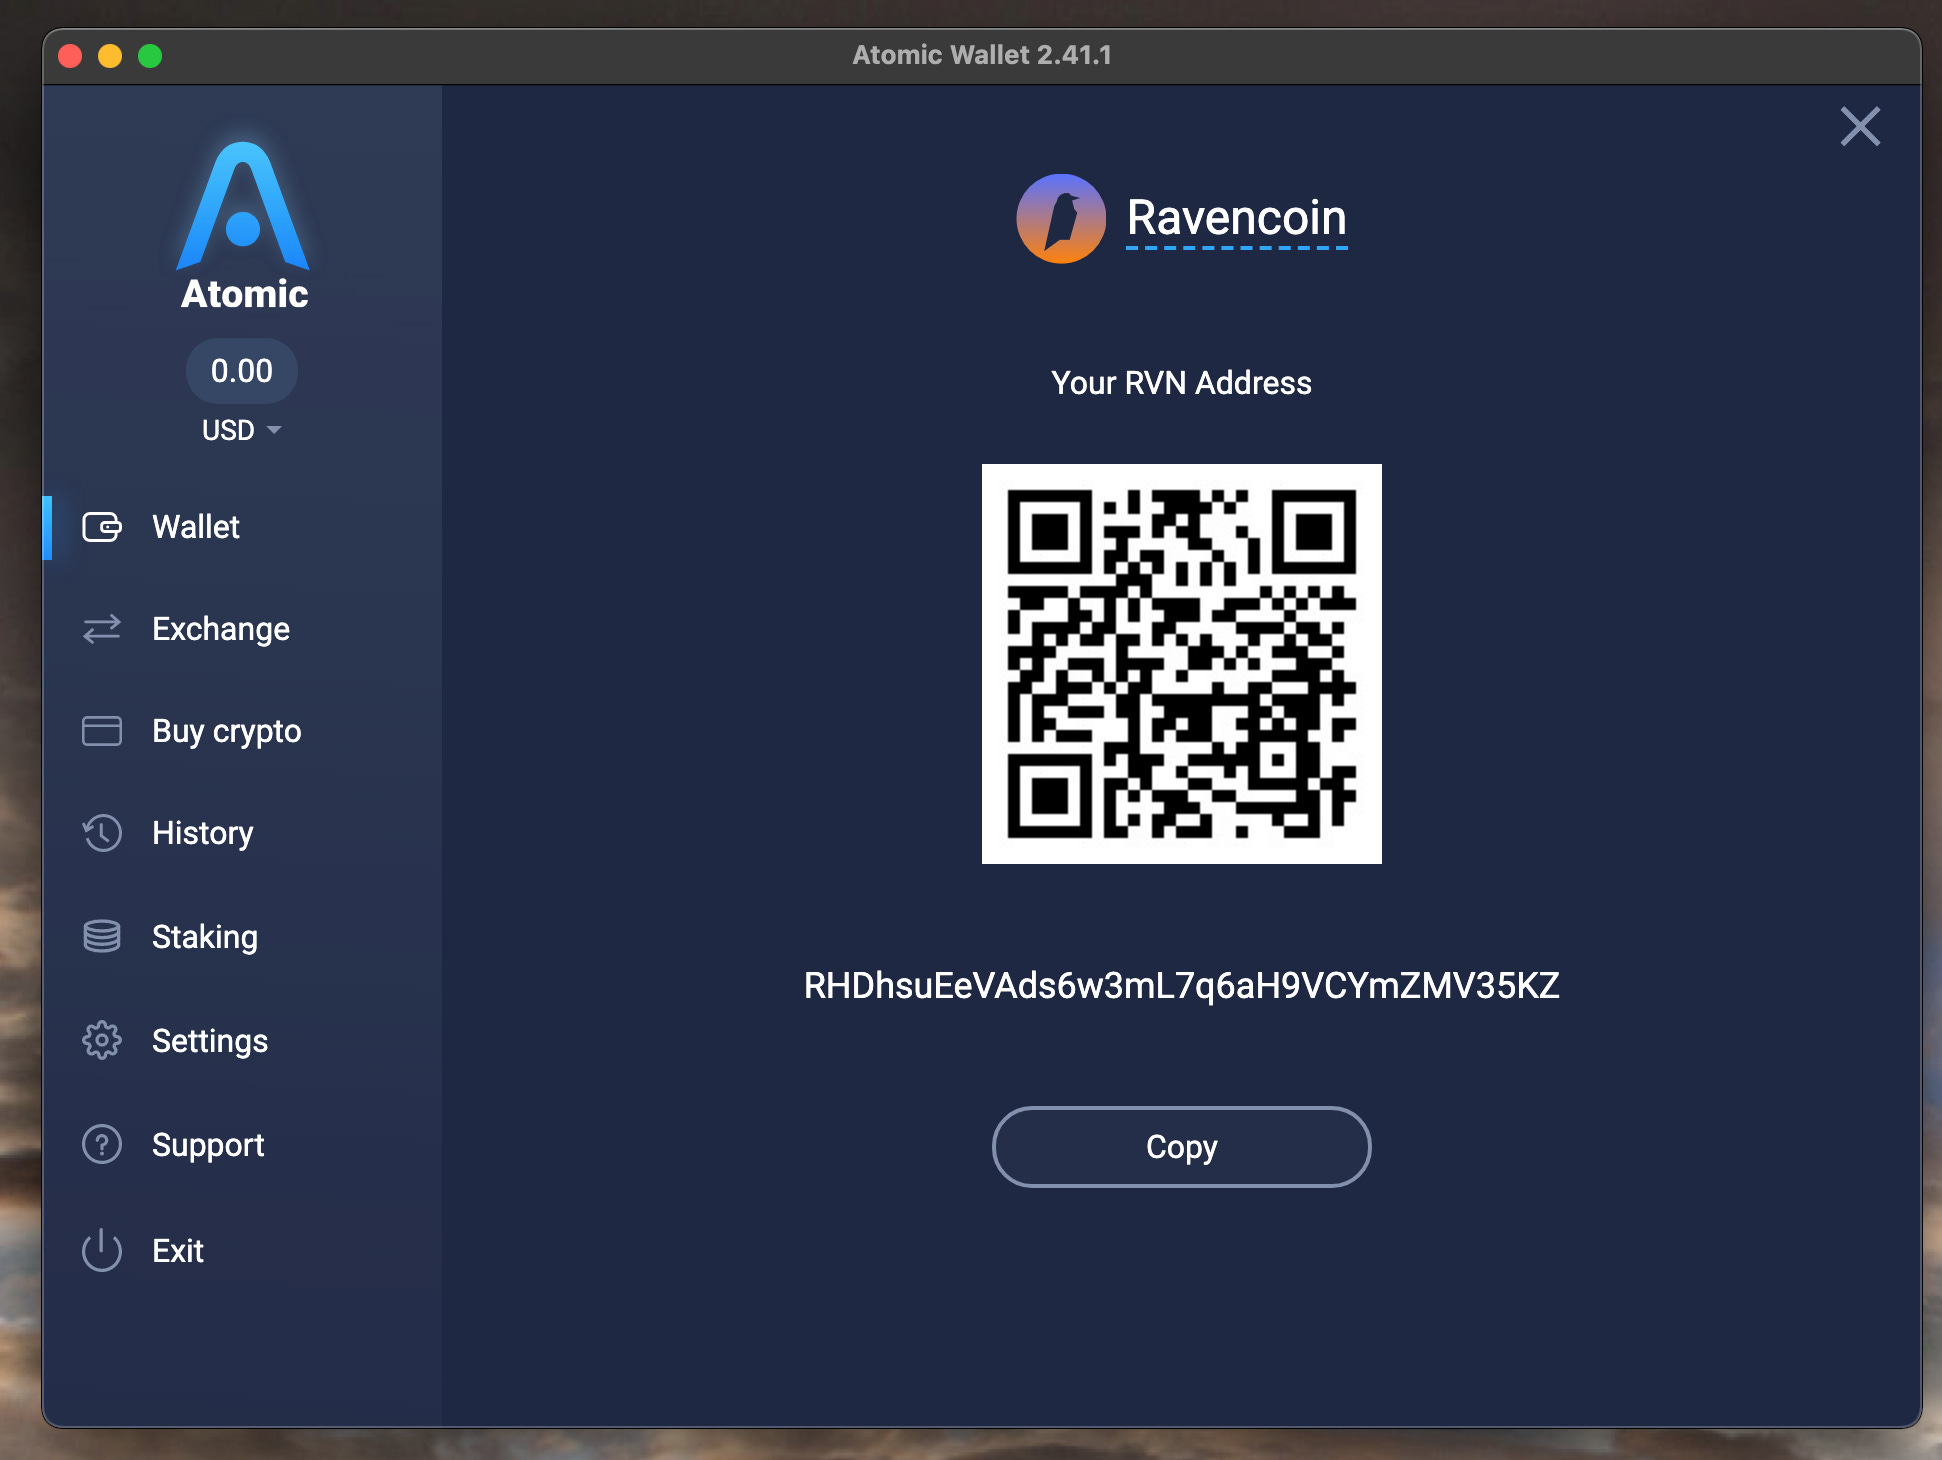
Copy the address. We will need it to setup the mining software to tell it where to send your mined cryptocurrency.
Go here https://github.com/rezahussain/thinminerpro and download either the Intel version or the Apple Silicon version and move it to your desktop.
Open the folder, the contents will look like this:
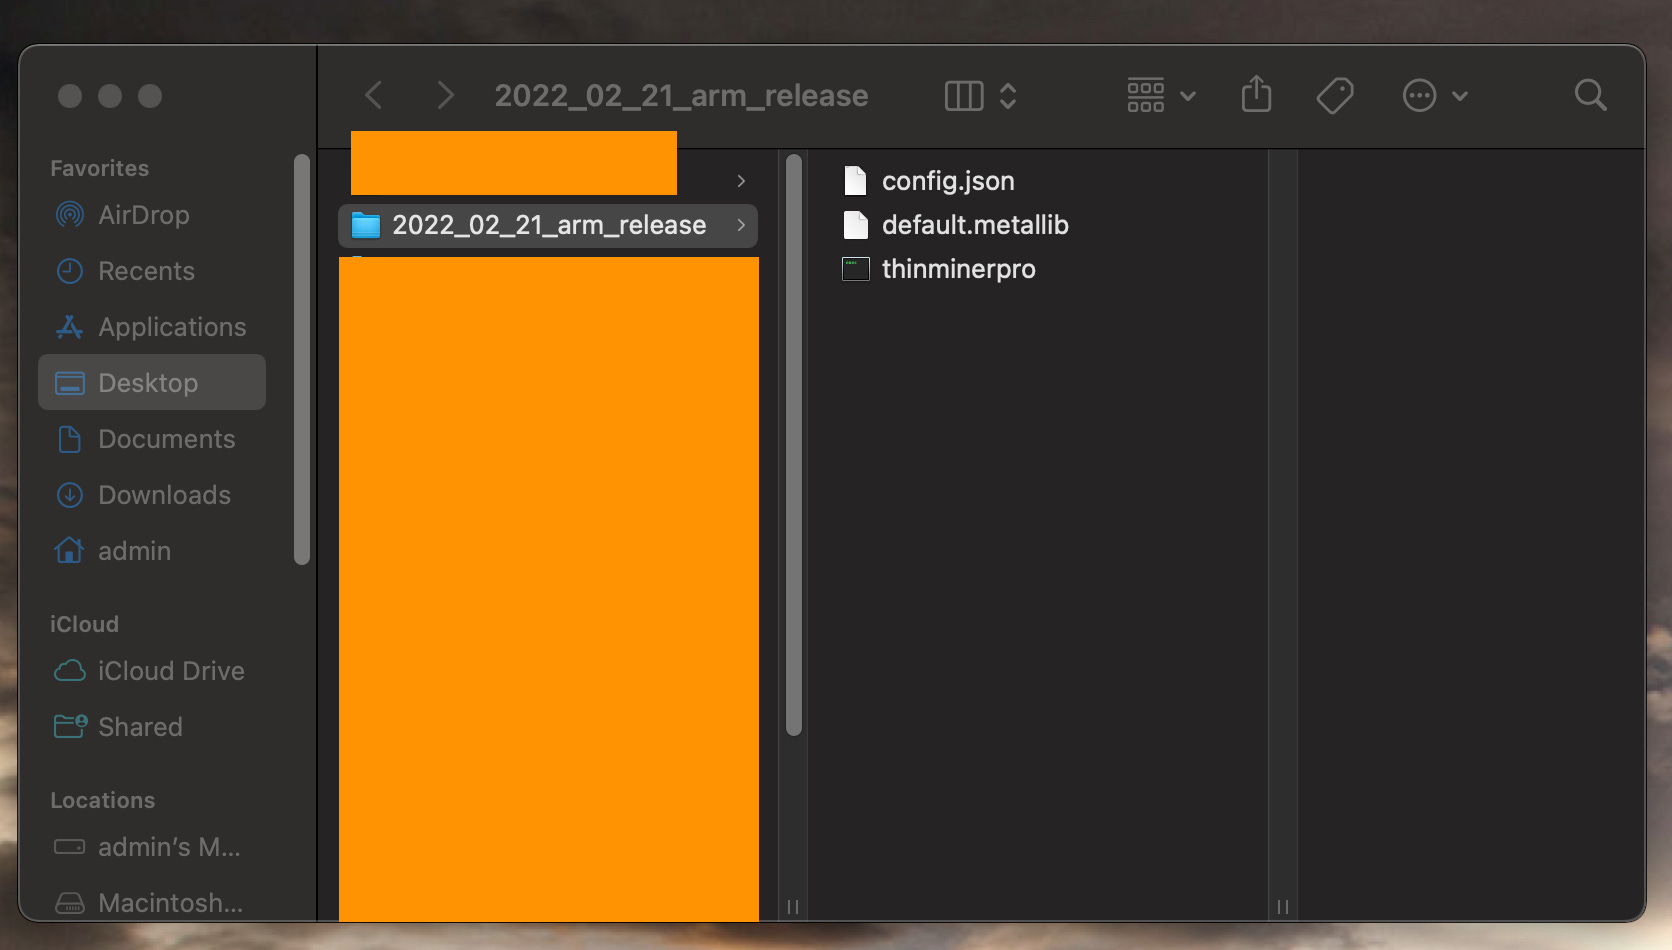
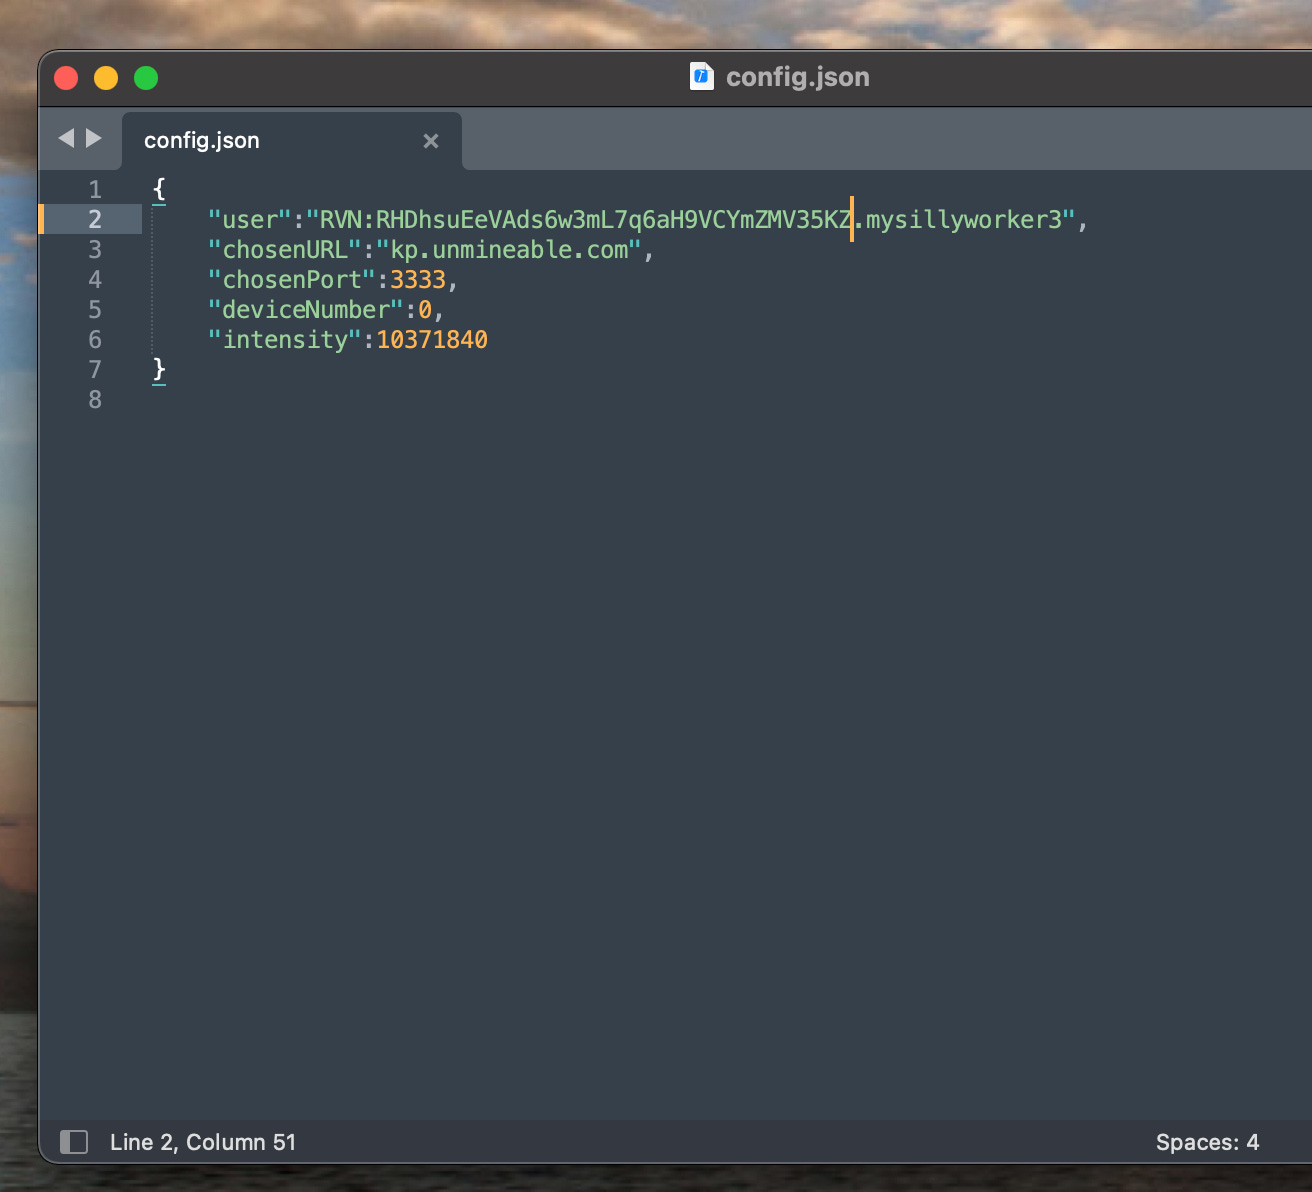
We need to edit the config.json so it specifies the cryptocurrency you want to be paid in, and your wallet’s address for that crypto currency. I recommend using Sublime Text Editor if you don’t already have a favorite text editor.
The only line you need to change in this config.json file is the “user” line. Put the short name of the coin you want(here it is RVN) and then your wallet’s address for that coin, here it is RHDhsuEeVAds6w3mL7q6aH9VCYmZMV35KZ as copied from our wallet. Then at the end you name your miner, this can be any name.
So the schema will look like this
COIN:address.minername
And then our example looks like the following:
With the configuration setup, now all we have to do is launch our miner!
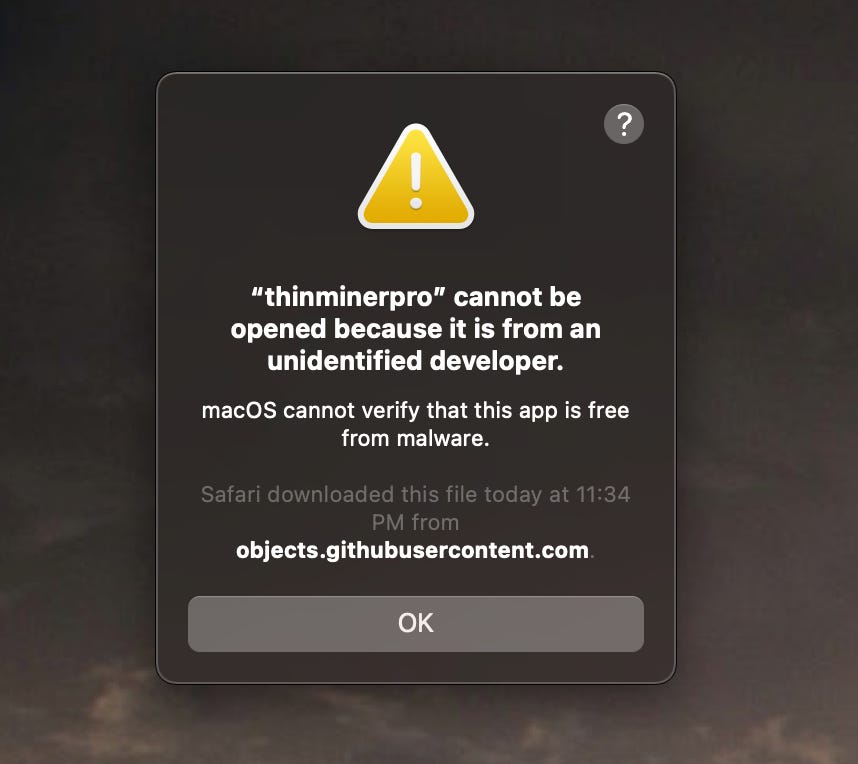
Double click the thinminerpro command line program to launch it. You may get a message like this:
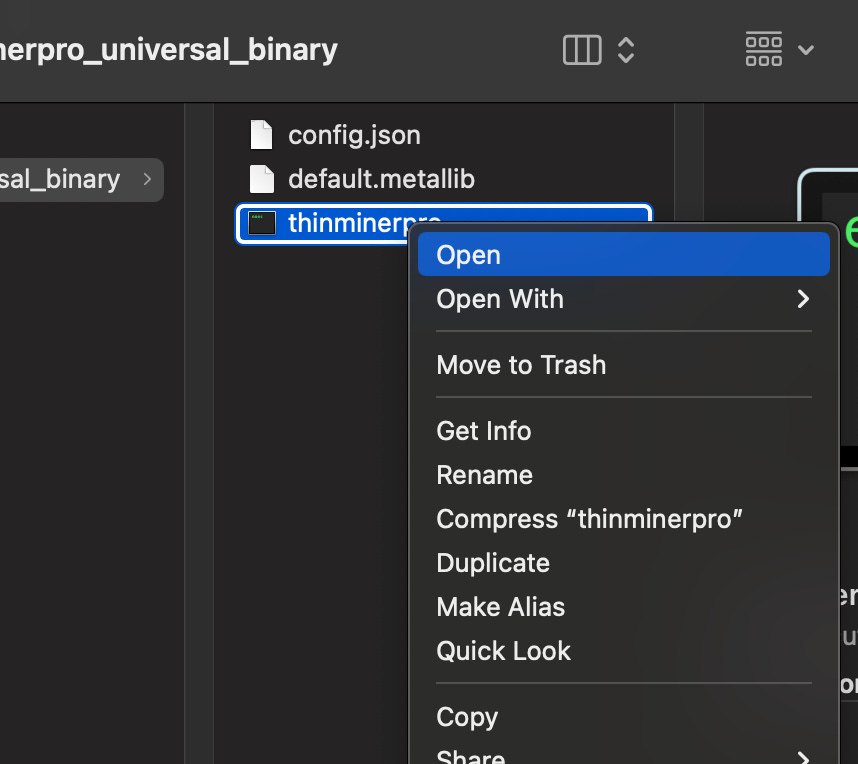
To get around this, control click and then click open
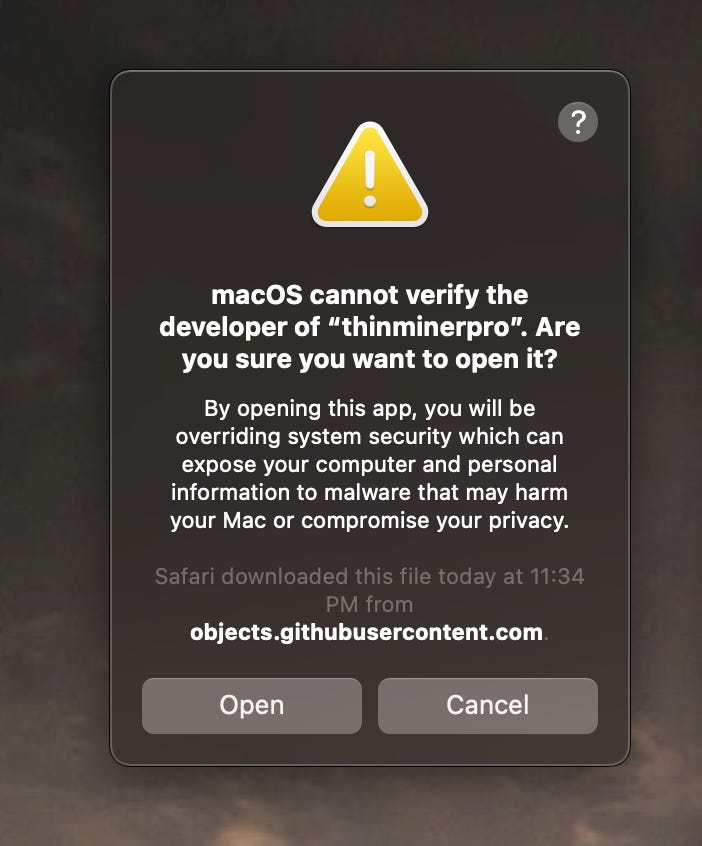
When it shows you this message click ok
The reason these messages come up is because this app is not code signed. Sometime in the future I will pay for an Apple Developer Account so I can code sign programs for MacOS. Until then this is the only way to run the program.
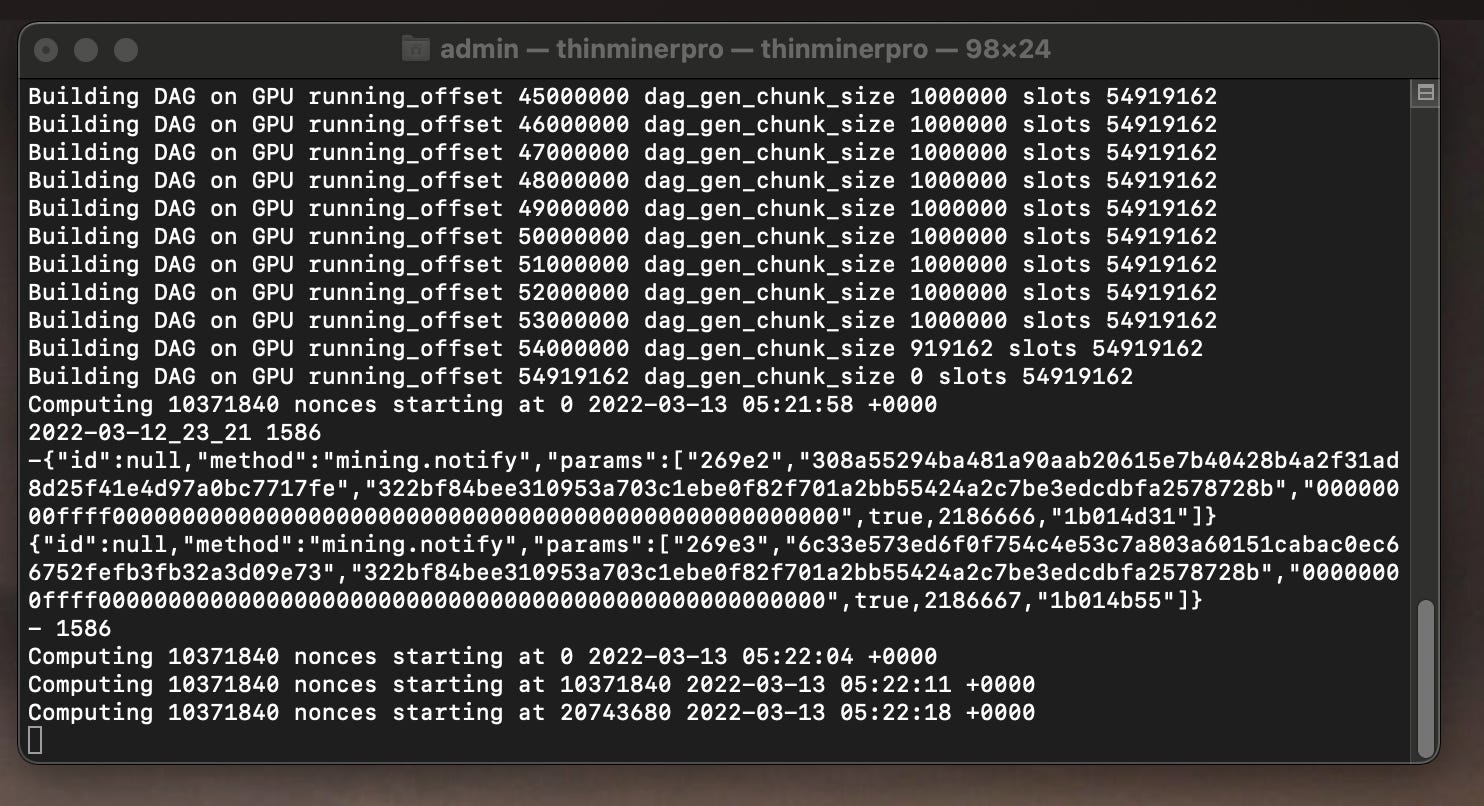
Now with the program launched, you will see this.
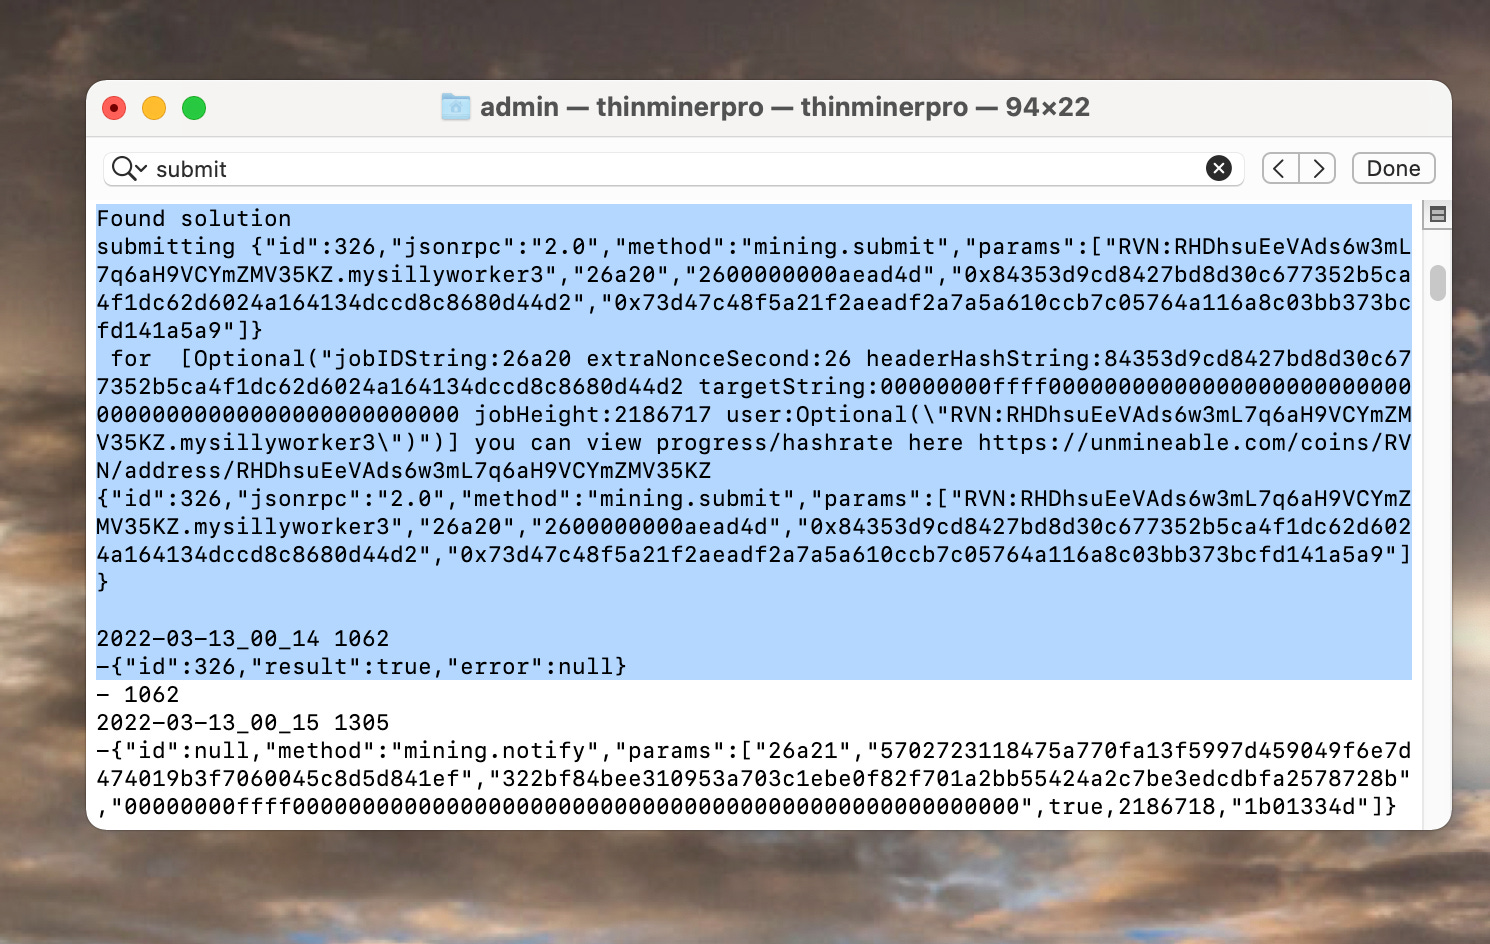
When it finds a solution, it will give an output like this:
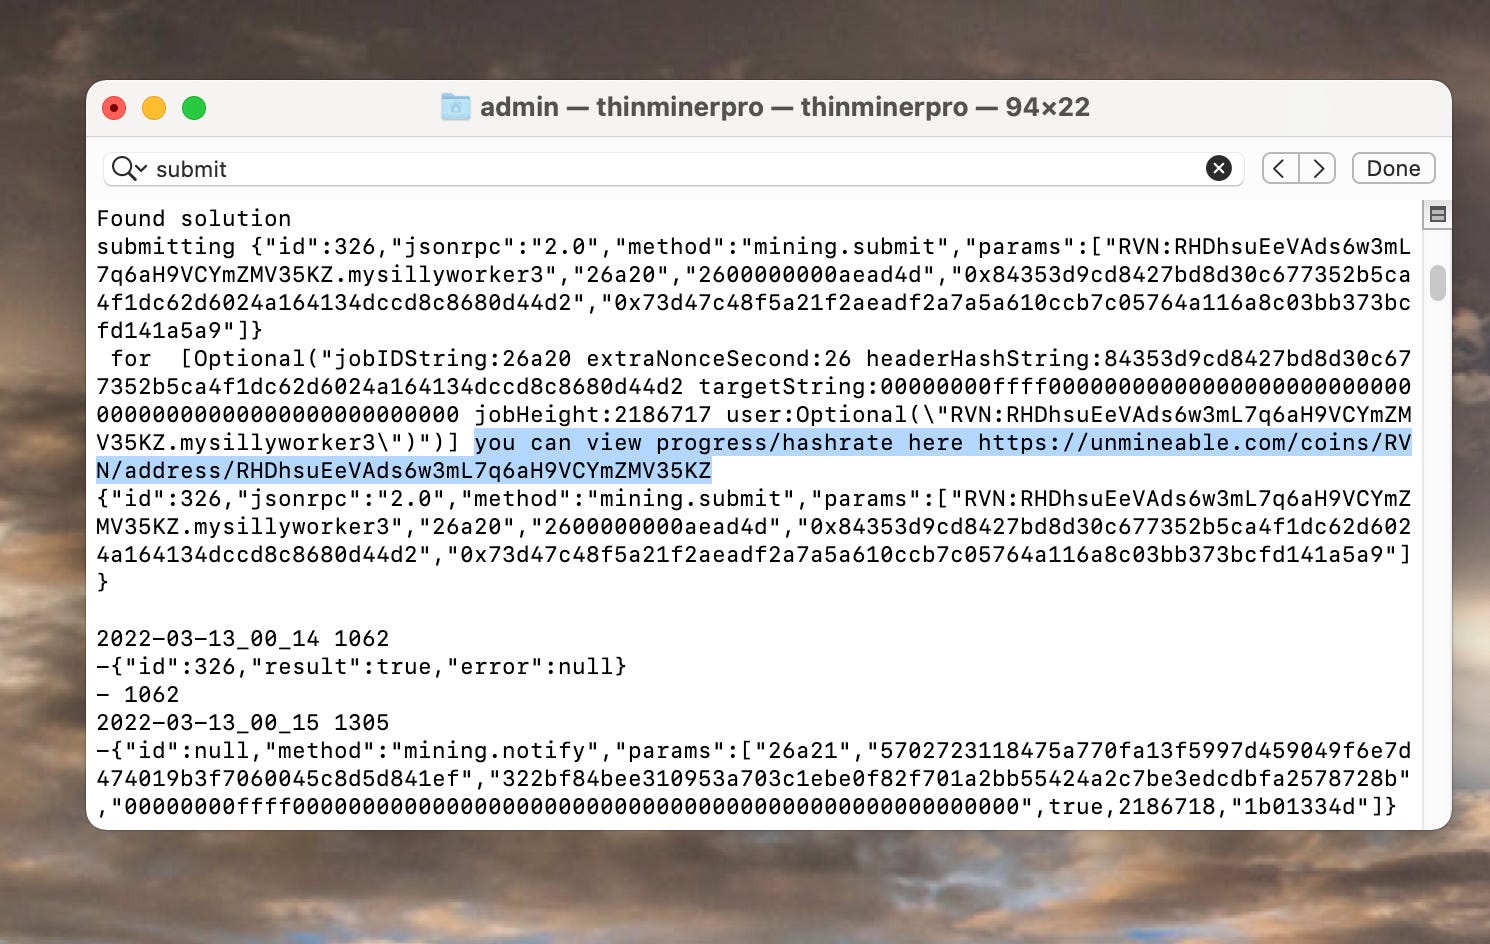
It gives you the link you can use to view your progress on unmineable.com
If we go to this link we can see how many coins we have mined:
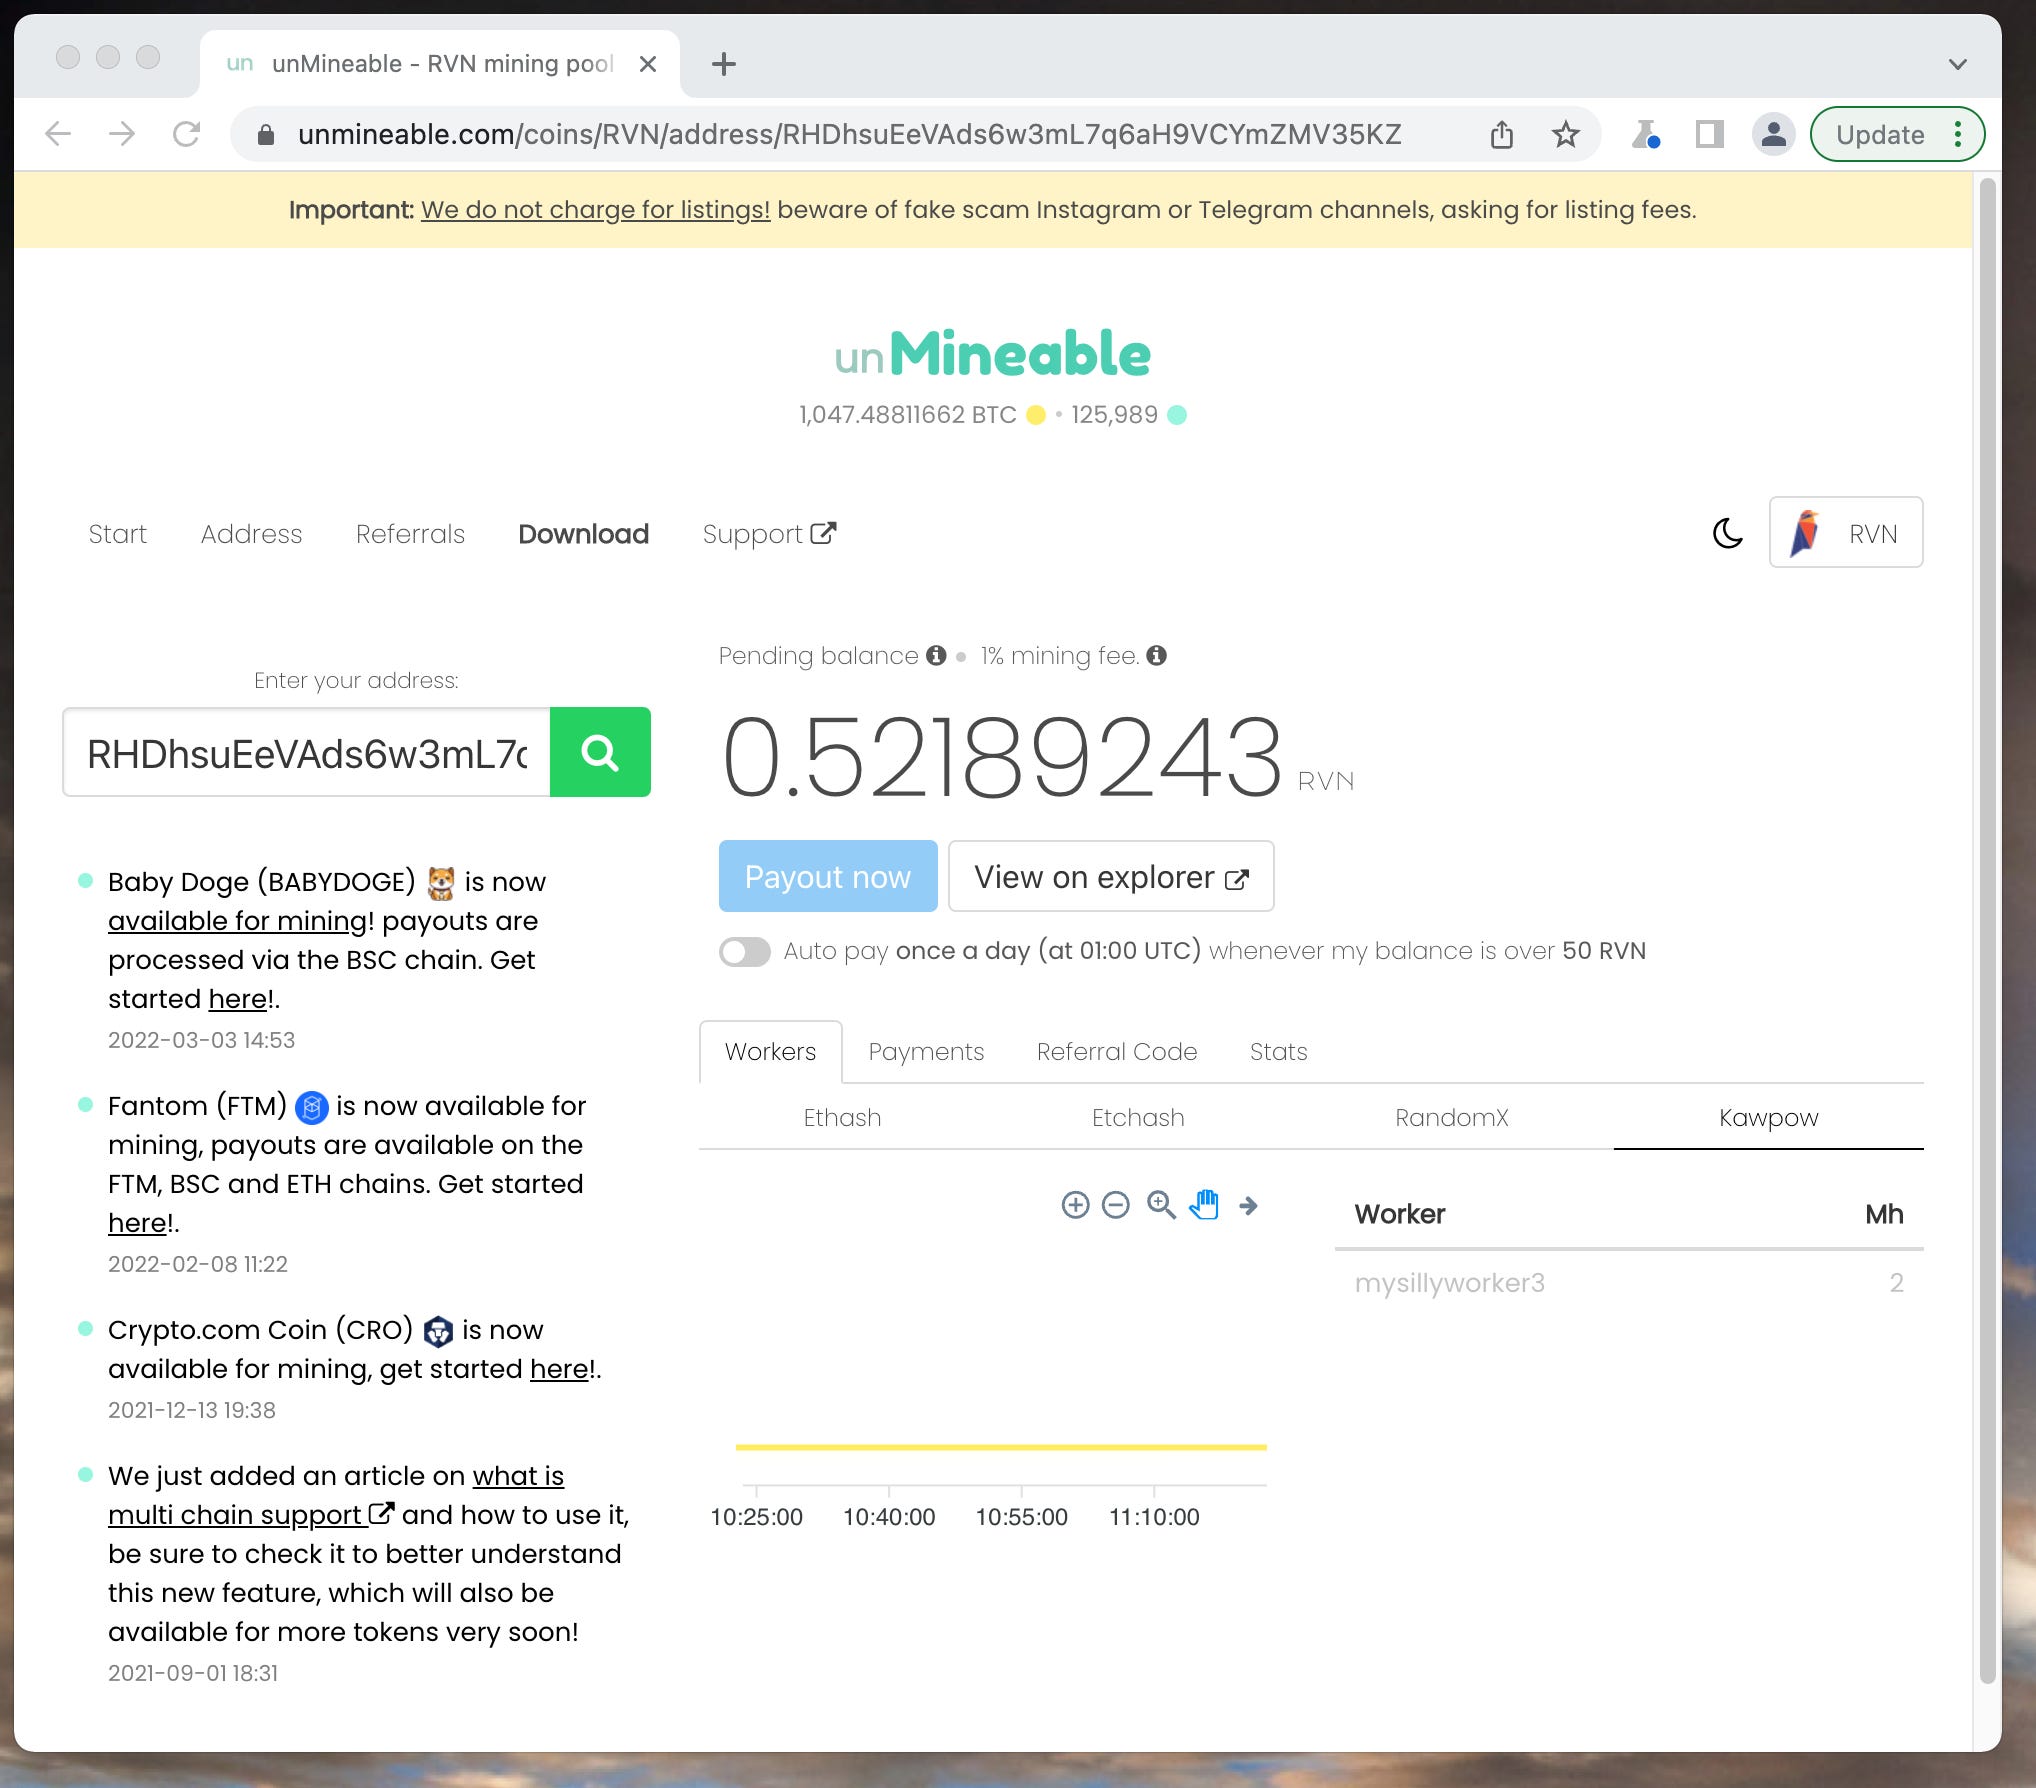
Unmineable has a minimum required payout, here for RVN it is 50 coins. When it reaches this amount you can have it auto transfer the coins to your Atomic Wallet.
That pretty much sums up crypto mining on mac. Let me know if you have any questions!
Leave comments below or in the twitter thread here: